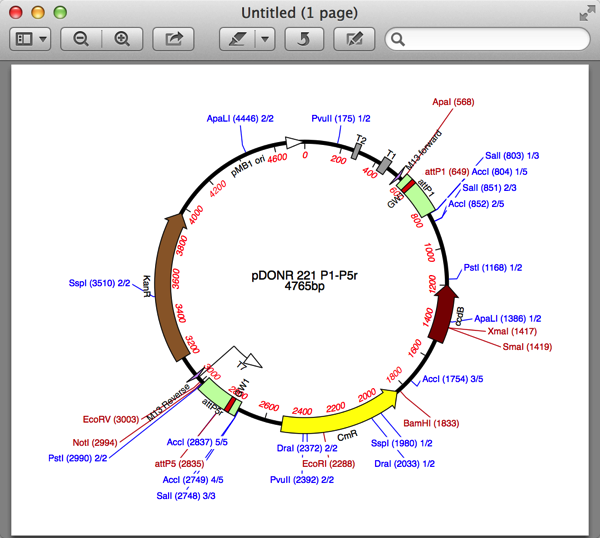
So you’ve finally go the graphics for that new construct looking absolutely fabulous in MacVector and you want to get it into an image editing program (e.g. Adobe Illustrator, Photoshop or even PowerPoint) ready for that critical presentation. How best to do it? The easiest way, by far, is to simply choose Edit->Copy to copy the image to the clipboard, then switch to the target application and choose Edit->Paste. Some applications, such as the popular Preview.app that is installed on all Macs in the /Applications/ folder, even have a handy File->New From Clipboard menu item:

There is no need to “select” the graphics you want to copy, the entire image will always be copied in high resolution “vector graphics” so that you can blow up the resulting image to any size with no loss of resolution. If you create a New From Clipboard window in Preview.app, you can then “Save As…” the image in a variety of different formats.
There are other approaches to getting graphics out of MacVector – with recent versions (13.5 and above) the File->Export Tab Contents As… menu item lets you export graphics in a variety of different formats. If you need the graphics broken out into multiple pages, then use File->Print and choose the PDF->Save To File… option.
You can learn more about this from this 101Tips post.