This article is the first in a series of “howtos” resulting from the 2010 survey results.
It may not be at the cutting edge of sequence analysis but sooner or later most users of such apps are going to have to produce a graphic of their work, whether that is a plasmid map, a tree, an alignment etc.. There’s a world of difference between producing a rough and ready map of a construct for your labbook and producing a publication quality map for a publication. MacVector tries to make producing both as painless as possible. Most of the graphics within MacVector (including the Map view) use the Apple graphics library called Quartz. Quartz uses PDF technology to display graphics (reminiscent of NextStep and DisplayPostscript which was the predecessor to OS X!). It easily allows graphics to be exported directly in PDF format. More importantly since most modern OS X applications also support PDF format, data can be exchanged via the clipboard using simple copy and paste procedures. So exporting a plasmid map from MacVector can be as easy as clicking EDIT > COPY in the Map View, moving to the desired application (e.g. Microsoft Powerpoint) and clicking EDIT > PASTE. However, although easy it is important to understand that using copy/paste does not limit the quality in anyway. When you copy and paste from MacVector you are copying as a PDF, rather than the information that is on the screen. PDF is a vector format, as opposed to being a raster format, and can be enlarged to almost any degree without any loss of quality. Furthermore when you paste into an application that supports this format, such as Adobe Illustrator, then you can directly edit the plasmid map in that applications.
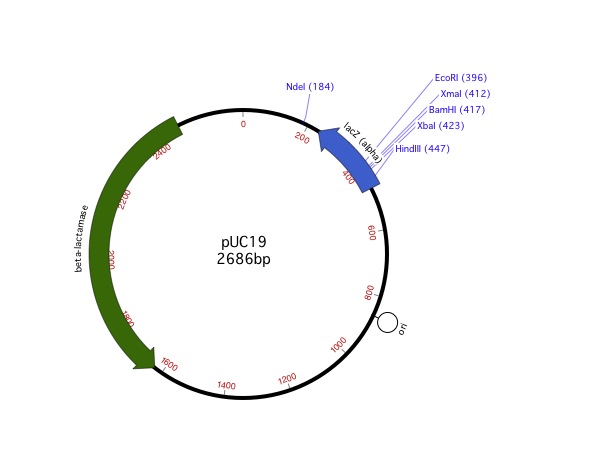
In real terms this means that plasmid maps copied in this way can be resized without any loss of quality and without those jaggy lines. Fonts will remain crisp as well regardless of what size they are displayed at. Whilst at the booth at the ASM2010 recently we thought it was a great example of how good the graphics could be by showing the metre high plasmid map and other graphics on the booth behind us. These were taken directly from MacVector. As a smaller example the map below was also copy and pasted directly from MacVector.

Using PDF in this way is the Apple recommended way of dealing with graphics, and it is supported by all the professional applications, such as Adobe Illustrator, Photoshop etc.
In addition the FILE > EXPORT menu will allow you to directly save the MAP view to a PDF file, and if you require a format other than PDF, then you can save a plasmid map in any OS X supported graphics format by utilising PREVIEW. This is an often underlooked utility found in the Applications folder on all Macs. It’s an incredibly useful tool for graphical data as it supports so many formats.
– Open MacVector on the MAP view, and select EDIT > COPY
– Open PREVIEW and select FILE > NEW FROM CLIPBOARD.
Once you’ve done this you can save the file as a PNG, JPG or any supported file.
If you need to obtain a exported image with a specific DPI (e.g. for a paper) then the easiest way is:
– Open MacVector at the MAP view, and select EDIT > COPY
– Open PREVIEW and select FILE > NEW FROM CLIPBOARD.
– Resize the map to the size you require.
– Open FILE – SAVE AS.
– Change the file type to TIFF, and change the DPI to the required value.
– Save the file.
In the next post we’ll discuss how to customise the actual graphics.