The In-Fusion Cloning kits from Takara allow you to perform ligase free cloning of PCR products into vectors in as little as 15 minutes.
You can use MacVector’s Gibson Cloning/Ligase Independent tool to design primers for In-Fusion cloning workflows. The In-Fusion kits need a 15nt overlap between the ends of a fragment and the ends of a linearized vector. The reaction uses a 3’ exonuclease to create single-stranded overhangs (Gibson Assembly uses a 5’ exonuclease, but otherwise is very similar).
Here are the basic steps;
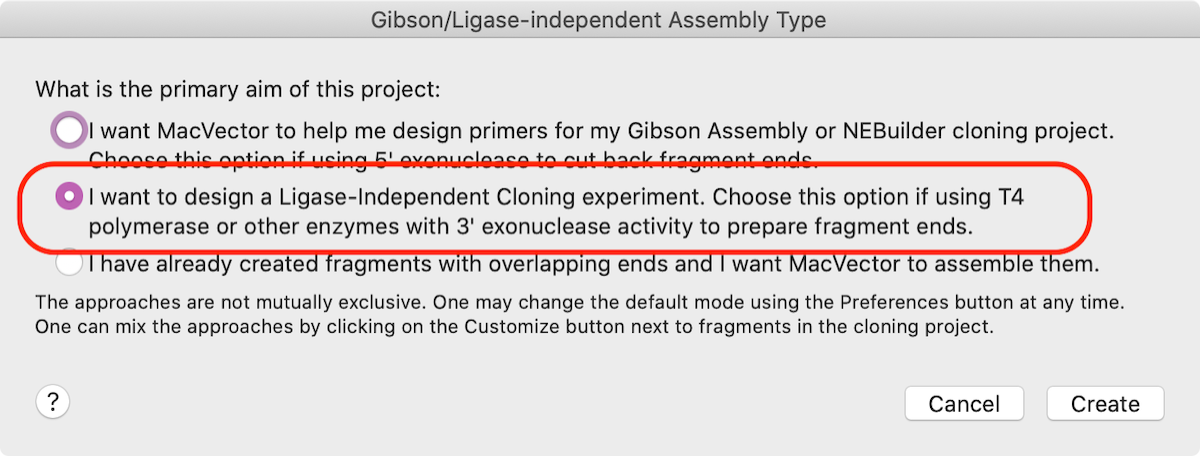
- Use File | New | Gibson/Ligase-Independent Assembly… and select the second option in the dialog. This creates your Ligase Independent Cloning (LIC) project.
- Next you want to prepare your vector. There a a few ways you might do this in the lab –
- You might have linearized a vector with a restriction enzyme(s). If its a single enzyme, just open the vector sequence and drag the name of the enzyme from the Map tab of the vector and drop it onto the LIC project window. If you are using two enzymes select both enzymes (use [shift] to select the second one) making sure you have the bulk of the vector selected so you include markers and the replication origin, choose Edit | Copy, switch to the LIC Project window and Edit | Paste.
Here, we’ve taken the major EcoRI – HindIII fragment from pUC19.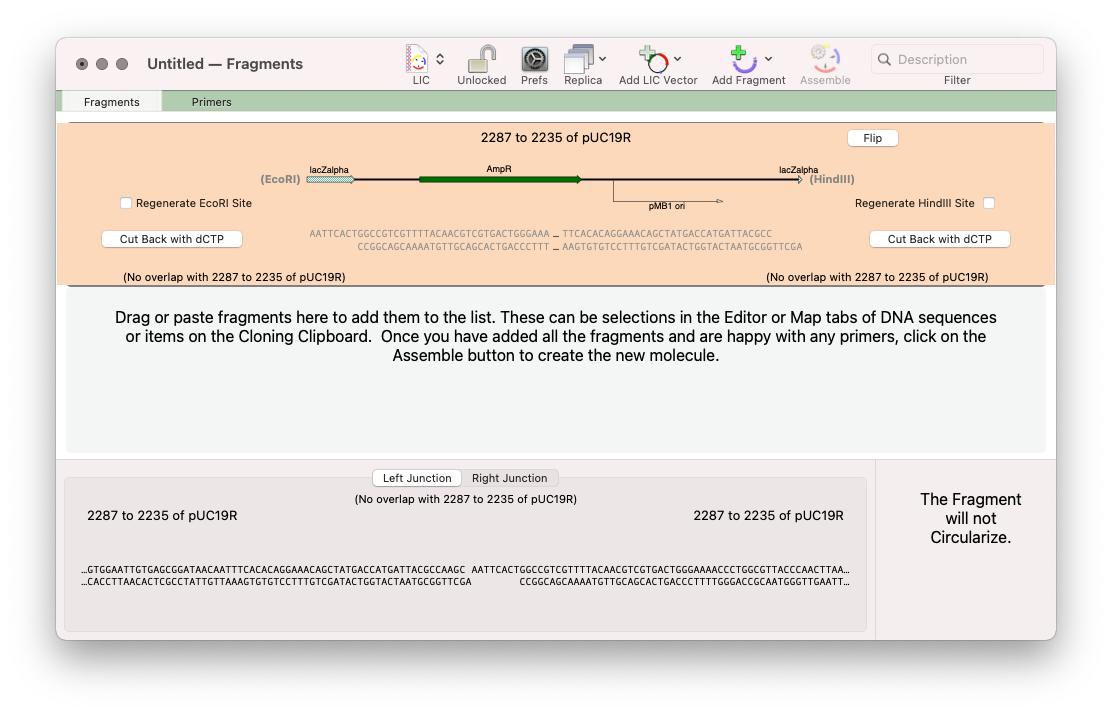
For this approach click on the outlined button and select the No Primer option
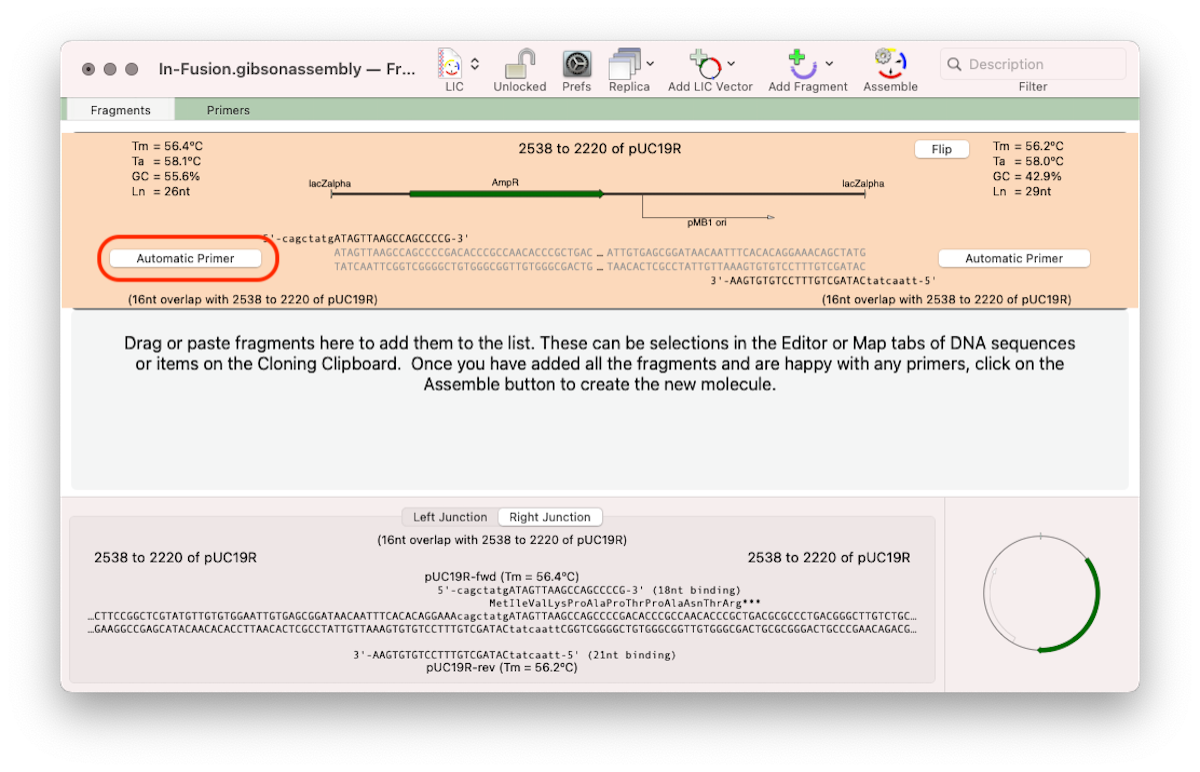
- You may want to create a vector backbone using PCR. In this case, you want to select and copy the exact DNA sequence you want to appear in the final construct. In the example below we’ve taken the sequence from the stop codon of the lacZ alpha gene in pUC19 to the ATG start codon of lacZ alpha, as if we were going to create a fusion protein starting with that ATG. In this case, we want MacVector to calculate an Automatic Primer for each end (Click the outlined button and change to Automatic Primer). As a second fragment has not yet been entered, MacVector simply generates a primer to match the other end of the vector backbone fragment.
- You might have linearized a vector with a restriction enzyme(s). If its a single enzyme, just open the vector sequence and drag the name of the enzyme from the Map tab of the vector and drop it onto the LIC project window. If you are using two enzymes select both enzymes (use [shift] to select the second one) making sure you have the bulk of the vector selected so you include markers and the replication origin, choose Edit | Copy, switch to the LIC Project window and Edit | Paste.
- The third way might be if you are using a pre-prepared linearized vector from a company.
- Next you need to prepare your insert. Basically, just select the exact piece of DNA you want to insert, copy, then paste into the Project. Here we chose a GalK gene to insert;
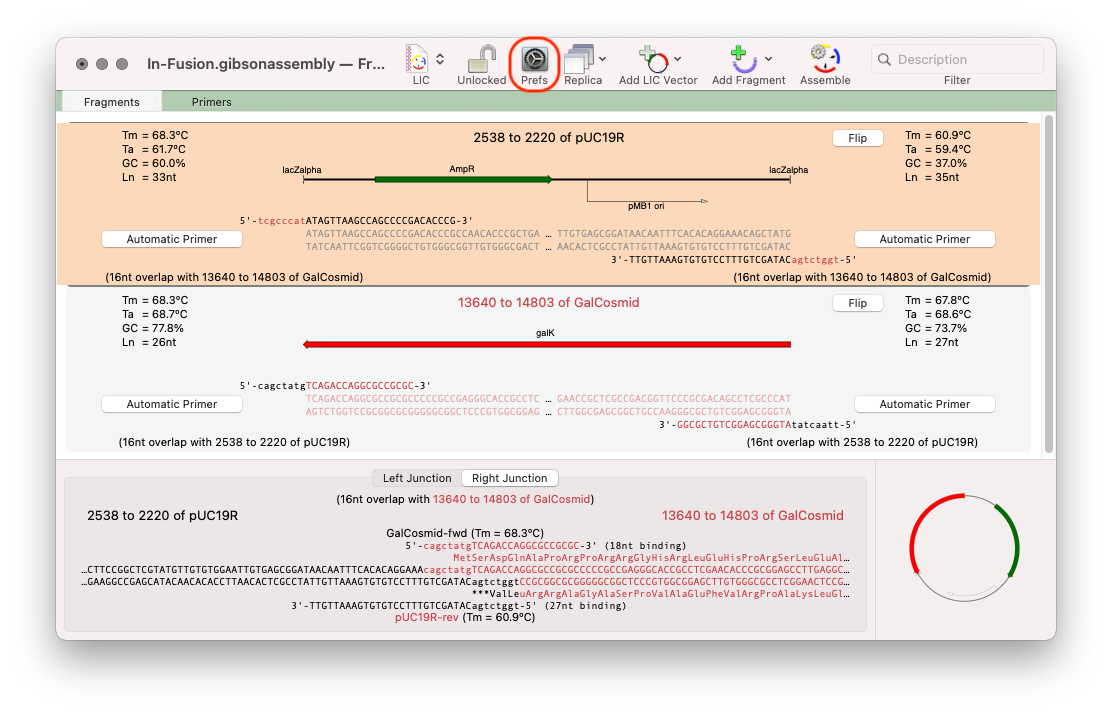
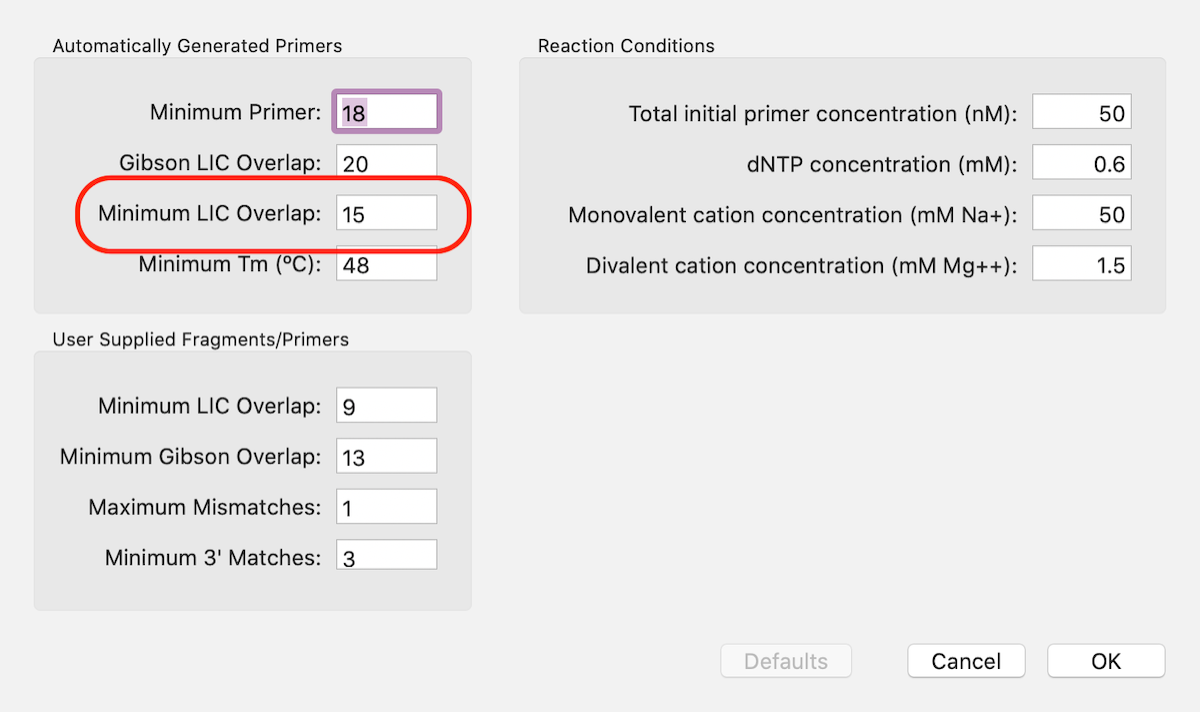
The default value for overlaps is 8. Click on the Prefs toolbar button to increase the minimum to 15 as recommended for In-Fusion cloning.
- Finally you need to circularize the resulting product to have your vector with insert. Click the Assemble button in the toolbar and you will get your In-Fusion product in a new window.
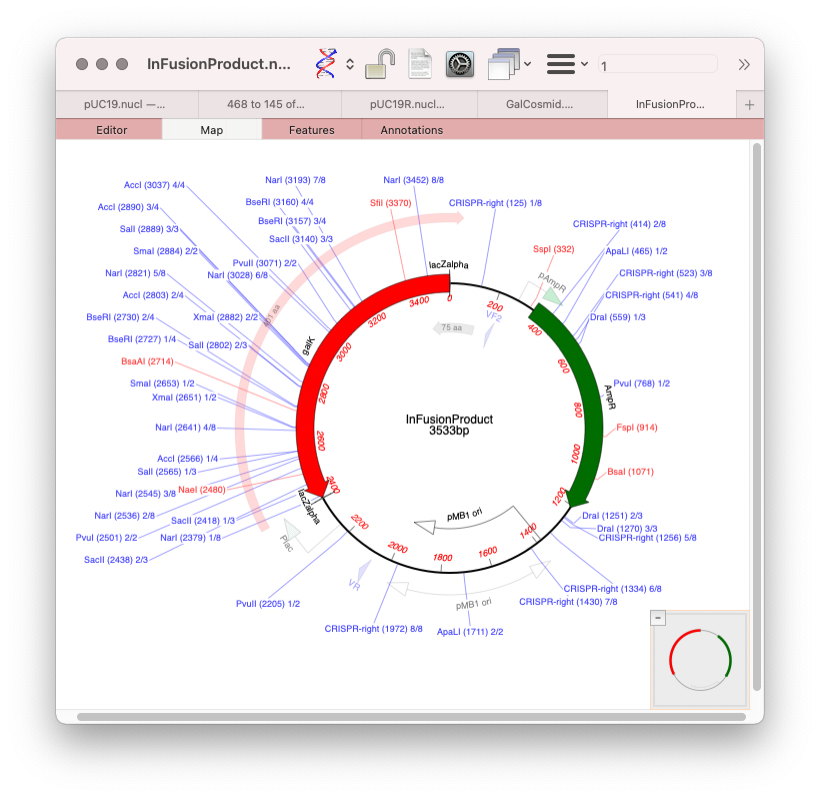
The new sequence will have /FRAG features in the Features tab showing how the molecule was constructed.


Comments
2 responses to “Designing primers and documenting In-Fusion Cloning with MacVector”
I found the biggest problem with next generation cloning using homologous regions to anneal/ligate is when the secondary structure in the linear overlap region causes the ssDNA to form a stem-loop. this sequesters the homologous regions & the assembly fails. to avoid this, I always take my ssDNA regions that will be the homologous sequences and run them thru RNAfold or mFold, uniFold…. an online program that predicts secondary structures. if you incorporated this feature into MacVector, it would be helpful for its use in cloning using Gibson, etc…
Hi Brian, Thanks. We’ll look into that. There are similar algorithms in our QuickTest Primer tool. We’ll look into having those be displayed directly within the LIC tool otherwise integrated.