For many years now, Apple has encouraged developers to create applications that run in a “Sandbox” on macOS. In fact, for the last few years, any application downloaded from the Apple App Store must be set to run in a sandbox. This protects your computer and your data from intentional or accidental data access or…
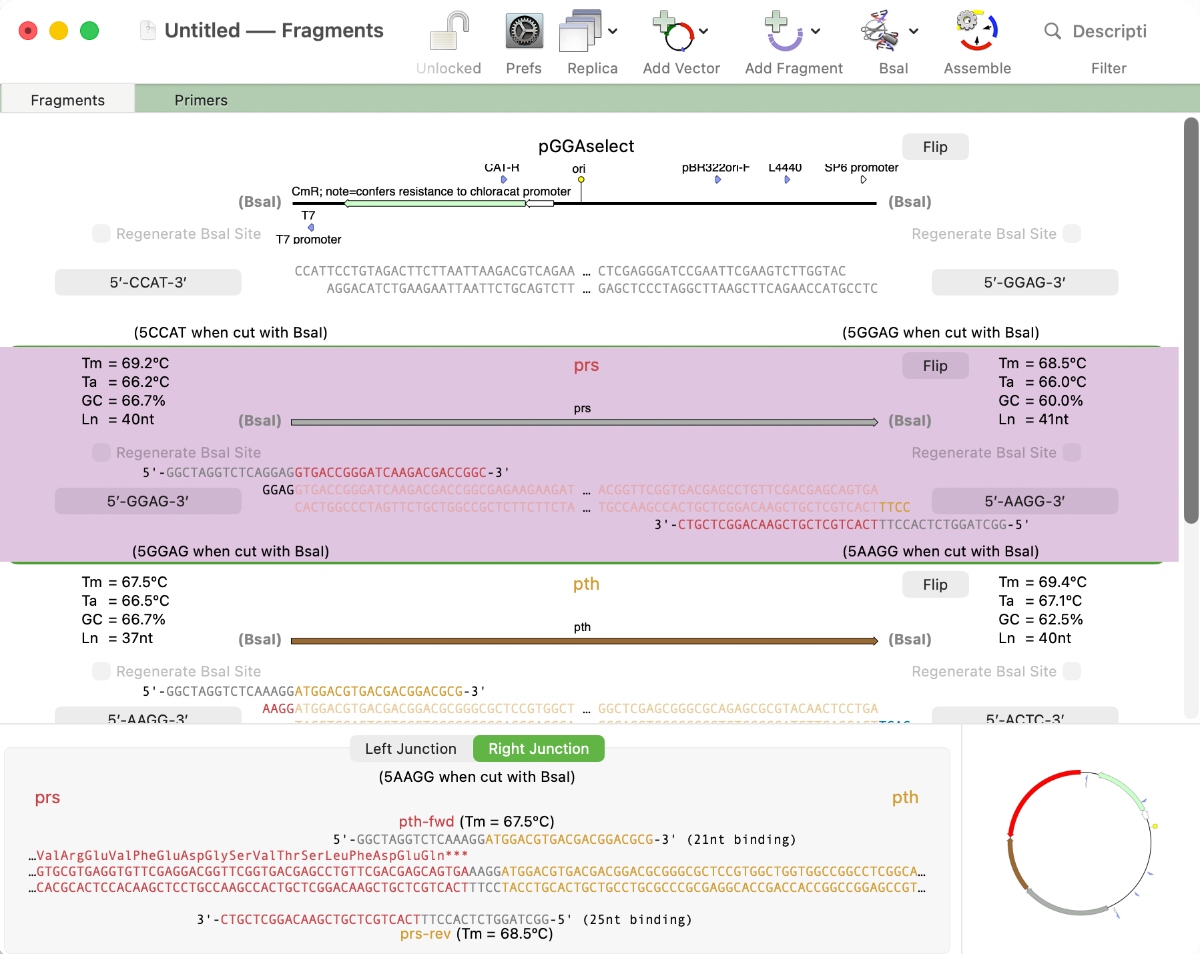
MacVector 26 sees the addition of Golden Gate Cloning to MacVector’s Cloning Project Manager We are just putting the finishing touches to a new Golden Gate Cloning interface for our next release of MacVector. Based on our existing Gibson Assembly interface, this new functionality lets you design constructs using the popular Golden Gate approach. This takes advantage…
Sometimes it’s a simple visualization of your sequence that you need or you want to quickly annotate an interesting part of your sequence to investigate later. So in addition to displaying a rich visual representation of your sequence and its features in the Map tab, MacVector can also show specific regions directly in the Editor tab. For instance, you…
One of the more challenging aspects of dealing with large eukaryotic genomes is that most are incomplete and have many gaps. Often the genomes are available as a collection of hundreds or thousands of separate contigs, with associated annotations. This makes working with them awkward. However, increasingly, entire annotated chromosomes can be downloaded with the…
MacVector’s History tab shows the edit history of your DNA sequences. Some of MacVector’s editing tools will annotate every modification to your sequence. For example with the Cloning Clipboard, all cloning actions (such as ligating a digested fragment into a vector) create a /FRAG feature that records the source of the ligated fragment, the restriction enzymes used to digest it (and…
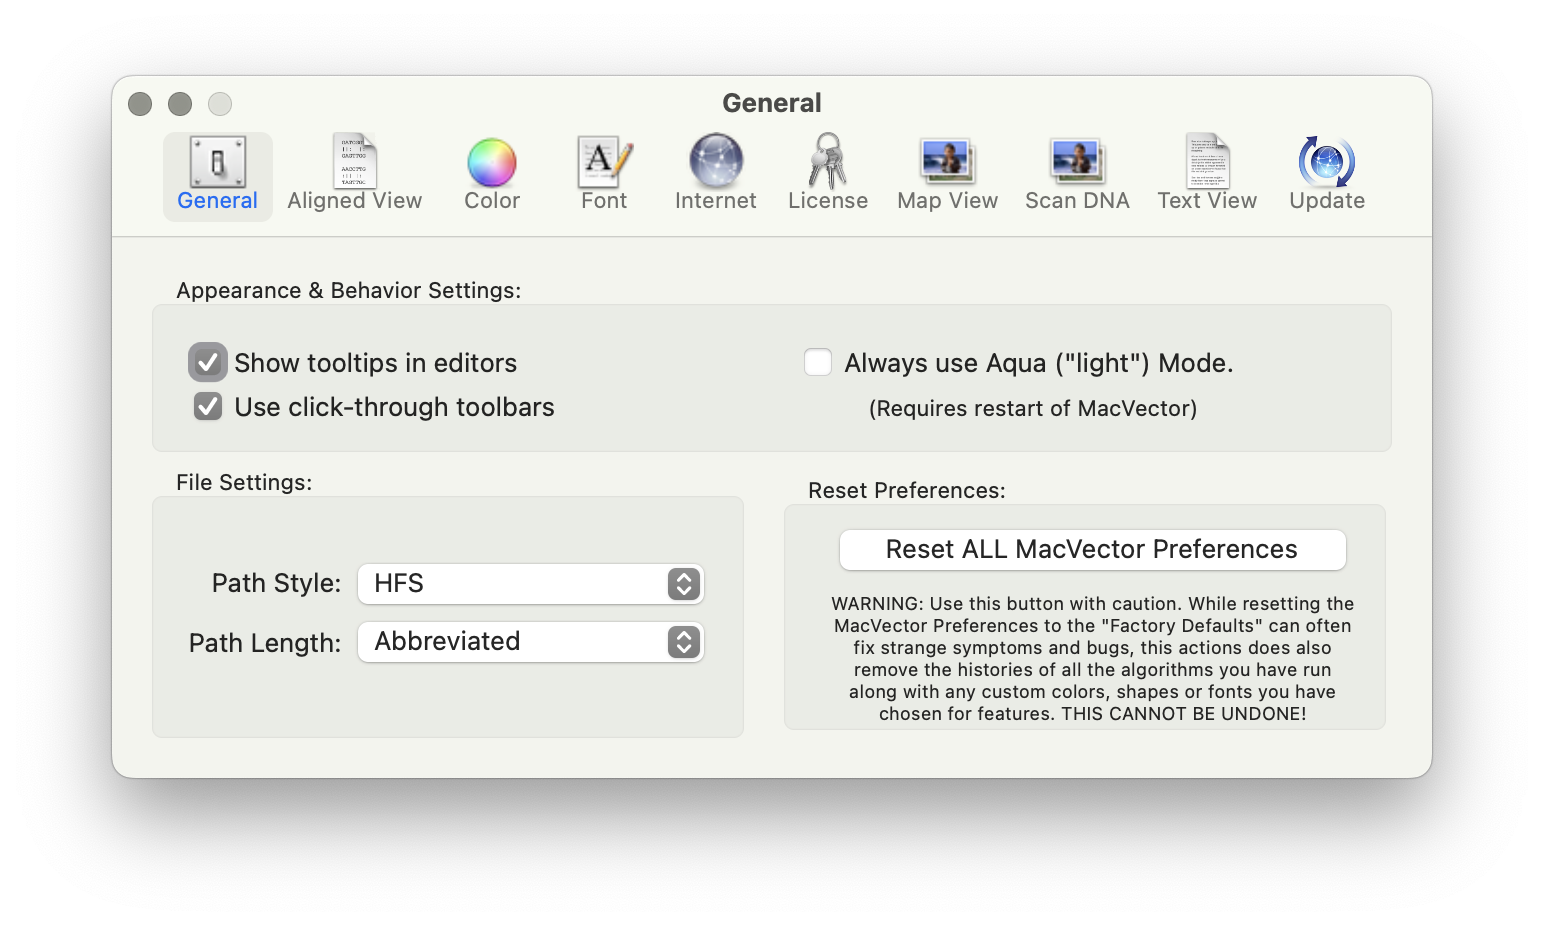
Very occasionally, you may find MacVector behaving unusually. Perhaps windows are not activating correctly, or functions you have used without issue for many years have suddenly started crashing, taking an excessive amount of time to run or generating nonsensical results. When such issues are reported to MacVector Support, we always try to perform an in-depth…
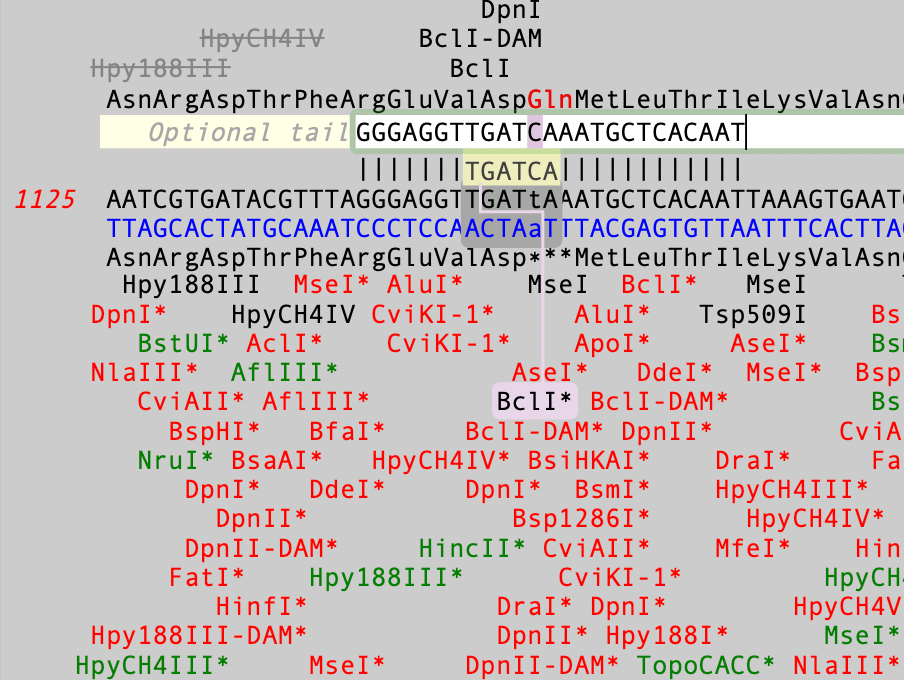
The Quicktest Primer interface is highly interactive and the display shows restriction enzymes and the amino acids sequences of CDS features in the region of interest. Here’s a ~25nt primer aligned against a parental sequence. Restriction enzyme recognition sites are shown in black text. “One-out” sites (e.g. a 5 out of 6 match) are shown with an…
In September of 2024, we started including Assembler with all new, upgraded and renewed licenses of MacVector. Assembler is fully integrated within MacVector and is enabled by the license activation code. However, it may be that your lab or institution has a new Assembler activation code after a renewal, but you are still using an…
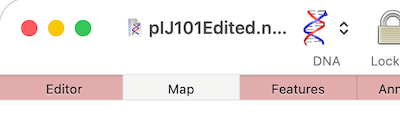
If you are having difficulties viewing the name of your sequence in the title bar of a window, it may be because you have “Full Titles” turned on. So if your window title looks like this; Then open MacVector’s Windows menu and deselect Show Full Titles. …and you now just see the name of the…
In the previous post we discussed the various ways in which you can analyze Oxford Nanopore’s long read data. For de novo assembly we recommend using Flye, which can also be used with PacBio data. Here are some tips to get the most out of Flye. IMPORTANT: MacVector simply wrappers around the Flye executable algorithm which depends on…