MacVector 15.5 automatically scans every DNA sequence window for open reading frames and displays the results in the Map tab. The setting for this are controlled by the MacVector | Preferences | DNA Map pane, along with the automatic Show restriction sites settings. The Minimum Number of Codons setting is fairly obvious. 5’ ends are…
With the advent of cheap Next Generation Sequencing technologies, there has been an explosion of whole genome sequences deposited in BLAST databases. One consequence of this is that, particularly for sequences of bacterial origin, most of the significant hits are to entire genomes. The classic BLAST results show the sequence alignments, but give no indication…
QuickTest Primer is a great tool for primer design. Paired with Primer Design/Test (Pairs) it gives you great control and flexibility for designing primers with tails, mismatches, silent mutations, one out sites and more. Once you’ve designed your primer the next step is to get it synthesized. QuickTest Primer will produce a PDF report of…
MacVector displays amino acid translations in many different result windows. You can drill down to the residue level in the Map tab and see translations of CDS and other translatable features and see translations in the plain text views and the Quicktest Primer interface. The translations can be viewed as either single letter codes or…
We’ve previously looked at using Edit | Copy and Edit | Paste to quickly and simply create new constructs using Restriction Enzyme sites. Here’s an alternative approach, using the Digest and Ligate buttons and the Cloning Clipboard. The sequence window Map tab has two buttons called Digest and Ligate. These work in a very similar…
Align to reference is a perfect tool for mapping small sequencing projects against a reference sequence. It’s perfect for accurately and quickly:– Confirming the sequence of a cloned fragment– Sequencing across the ends of a cloned fragment to confirm the junction sequence– Screening clones from a site-specific mutagenesis experiment to identify successful mutations– Screening related…
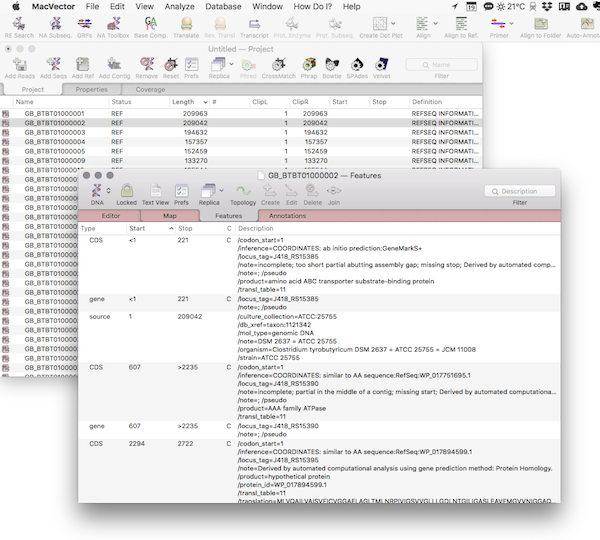
While MacVector does have a built-in Entrez browser (Database | Internet Entrez Search) you can easily import GenBank formatted text into MacVector via a simple copy and paste approach. Many sequence-oriented web sites have the option of viewing sequences in GenBank format. This format always starts with the text LOCUS and finishes with two…
The Addgene repository is a great place for obtaining expression vectors and other plasmids for your research. Fully annotated sequences are available for most plasmid sequences, although older plasmid deposits may be only partially annotated. All are very easy to import into MacVector. All Addgene sequence deposits have a Genbank formatted sequence. This should contain…
The quickest and simplest way to create restriction enzyme generated constructs in MacVector is to use Edit | Copy and Edit | Paste. The strategy to use is identical to copying a paragraph from one Microsoft Word document to insert into a second document. i.e. Select the restriction enzymes flanking the source fragment in either…
You can create new constructs in MacVector by selecting two restriction enzyme sites, choosing Edit -> Copy, selecting a target restriction site in a different molecule and then choosing Edit -> Paste. It works great and fully understands compatible overhanging sticky ends preventing you from accidentally creating biologically impossible molecules. However, a far more flexible…