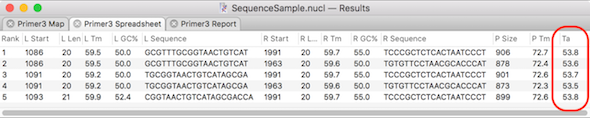
MacVector has several tools to help with primer design and testing. The Analyze | Primer Design/Test (Pairs) function uses the popular Primer3 algorithm to find suitable pairs of primers to amplify specified segments of DNA. You can also enter pairs of pre-designed primers and test their suitability for use in PCR. In both cases, the…
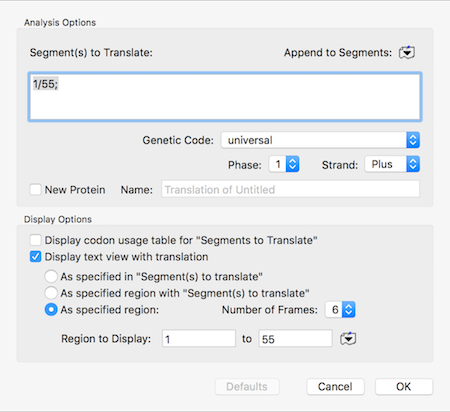
There can be times when you are messing about with open reading frames, inserting residues to change frames to try to get the perfect CDS fusion. The MacVector single sequence Editor will show those (click and hold on the “Display” toolbar button) but if you select and copy, only the DNA sequence (with any overlapping…
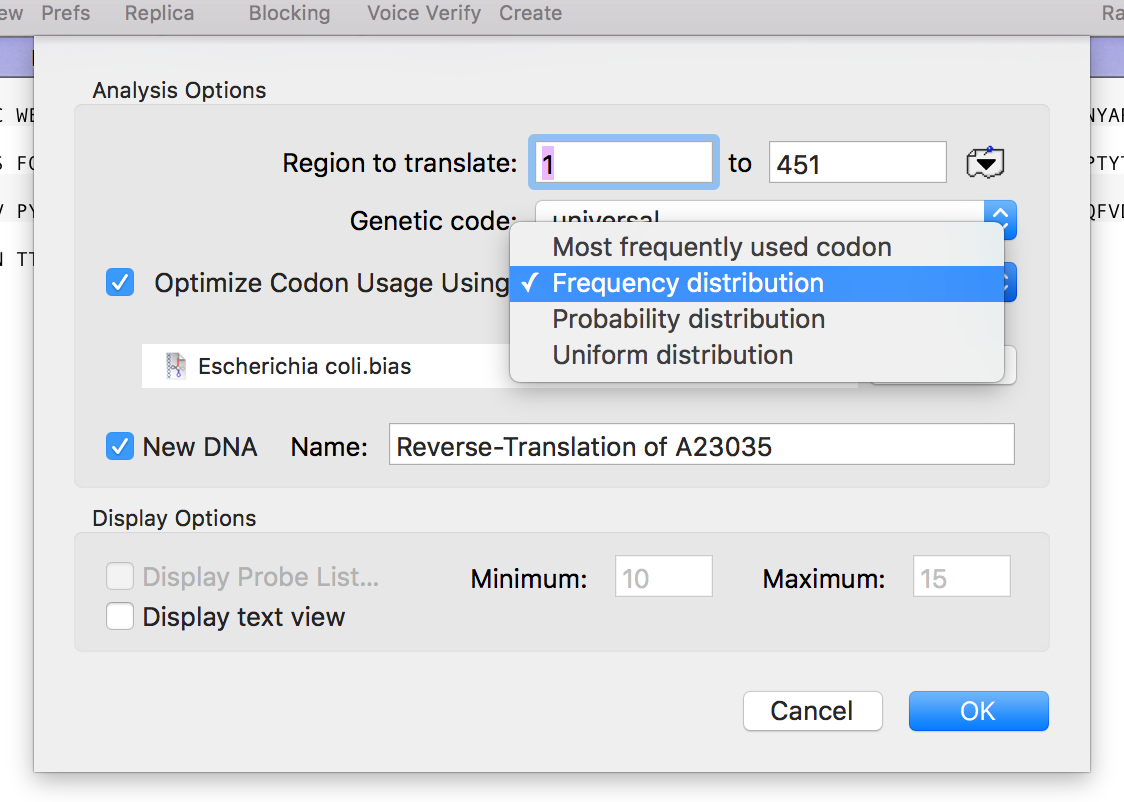
The Analyze | Reverse Translation menu option lets you create a DNA sequence from a Protein sequence, reverse translated using a specific Genetic Code (by default, the Universal Genetic Code). The default option creates a DNA sequence with N’s and other ambiguities reflecting the degeneracy of the genetic code. This is great if you want…
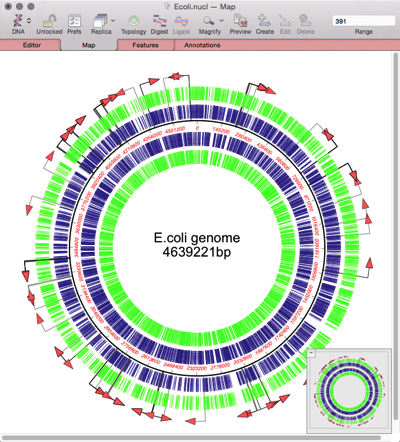
The continuing advances in Next Generation Sequencing have made it relatively low cost to sequence prokaryotic genomes. Many scientists are embarking on large projects to sequence multiple related genomes. These might be clinical isolates of the same species exhibiting different pathogenetic properties, environmental isolates from different sites, or a study over time of the changes…
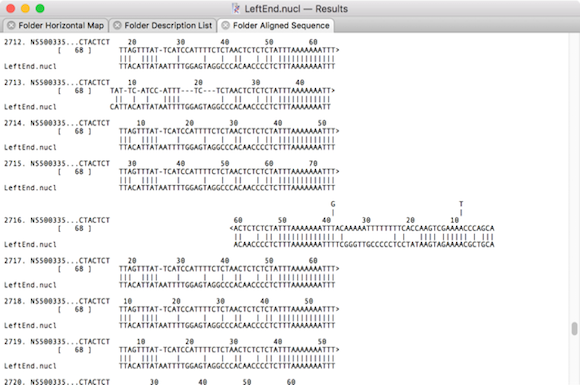
The Database | Align To Folder function is a very useful tool to find and retrieve similar sequences from folders on your computer or on other local machines. Think of it as your own personal BLAST service. It can not only search individual sequences in any format MacVector can read (MacVector, Genbank, EMBL, ABI etc)…
Automated algorithms can only take you so far with genome assembly. The final steps involved in finishing a genome always need manual intervention. MacVector’s various assembly editors have many tools for helping finish genome sequencing projects. For example, closing gaps, extending reference sequences and even automatically circularizing contigs. If you select reads, then right click…
Room: HR Training Room 01–2162. Floor: 1Date: 15 October 2019 From: 9:30 to 11:30 Now rescheduled – Date to be advised Chris Lindley of MacVector, Inc. will be giving a training workshop for both novice and advanced users of MacVector at The Crick, reviewing both basic and advanced functions. In particular new tools introduced over the last…
ThermoFisher (owners of Invitrogen) have announced that Vector NTI Express is nearing the end of its life and Vector NTI Advanced was terminated quite some time ago. If you are looking for an easy to use sequence analysis application, then look for a reliable and trusted application. MacVector is easy to use, has a comprehensive…
Transposon mutagenesis is a common approach for investigating gene function in bacterial genomes by selecting for clones where the transposon inserting into the genome has generated a specific phenotype. You can then simply sequence the entire genome of each clone by NGS to identify the transposon insertion site. To lower the cost of such experiments,…
With MacVector Pro and Assembler you can use Bowtie to perform RNA-Seq analyses using NGS data. The interface even has specialized output tabs listing the coverage information and statistics for each annotated CDS and gene feature on the genome. You can download a short tutorial and a sample dataset that illustrate the analysis workflow using…