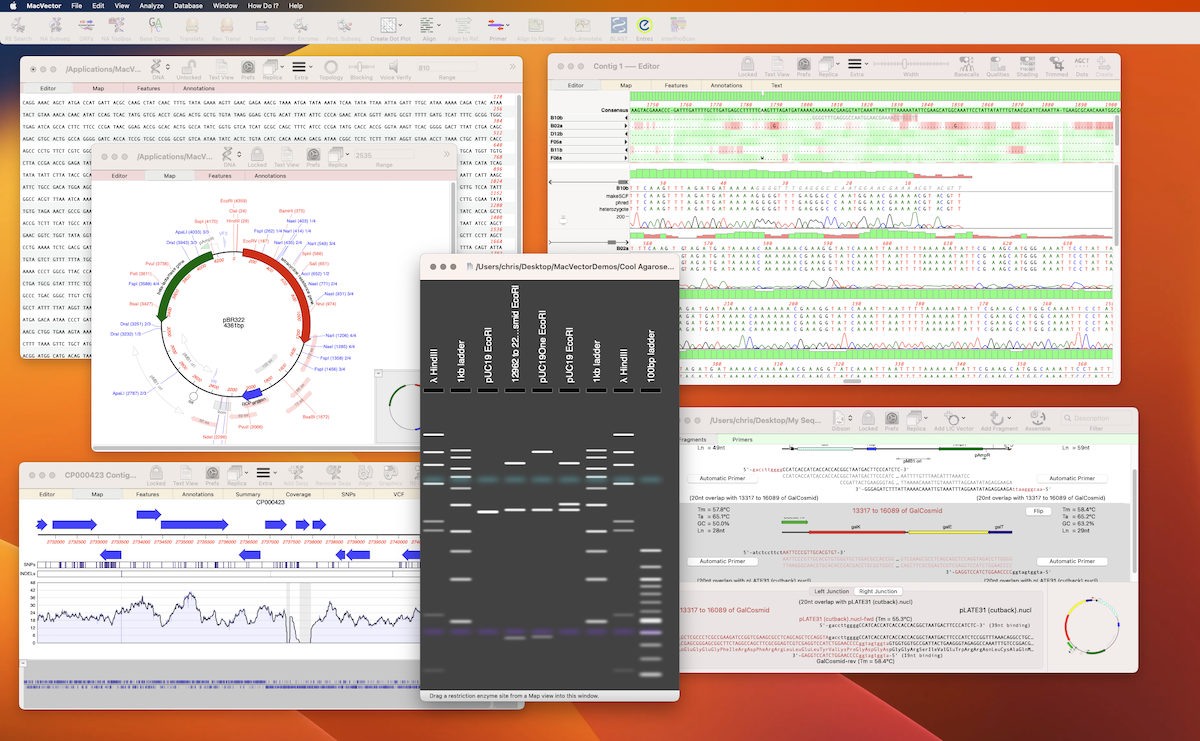
“Dark Mode makes it easier to stay focused on your work because your content stands out while darkened controls and windows recede into the background” If you use Dark Mode with the Auto setting, then with the short winter days in the northern hemisphere (for our southern hemisphere friends please save this email for six…
We hope 2022 was a productive and enjoyable year for your research, and that MacVector has played some part in that. Once again, 2022 was not the uneventful year that we all hoped for. Perhaps 2023…? Before you go and relax with friends and family, help your colleagues make the most of MacVector and give…
We’ve just released a minor update, MacVector 18.5.1. Changes include: You will be automatically promoted to update. or go to FILE | CHECK FOR UPDATES… to update now. You can download the full installer instead. For assistance with remove activation of standard licenses please contact support.
It’s that time of year again. Apple have released macOS Ventura and we are very pleased to announce MacVector 18.5 is out. MacVector 18.5 is fully macOS Ventura ready! macOS Ventura ready Heterozygote Analysis of Sanger trace files Align to Reference supports long reads Miscellaneous enhancements How to upgrade to MacVector 18.5 If you have…
It’s that time of year again. Apple have just released macOS Ventura and we are very pleased to announce our current release, MacVector 18.2 has been tested on macOS Ventura and is compatible. Not only that but we have just a few weeks of testing left before our next release. MacVector 18.5 has been developed…
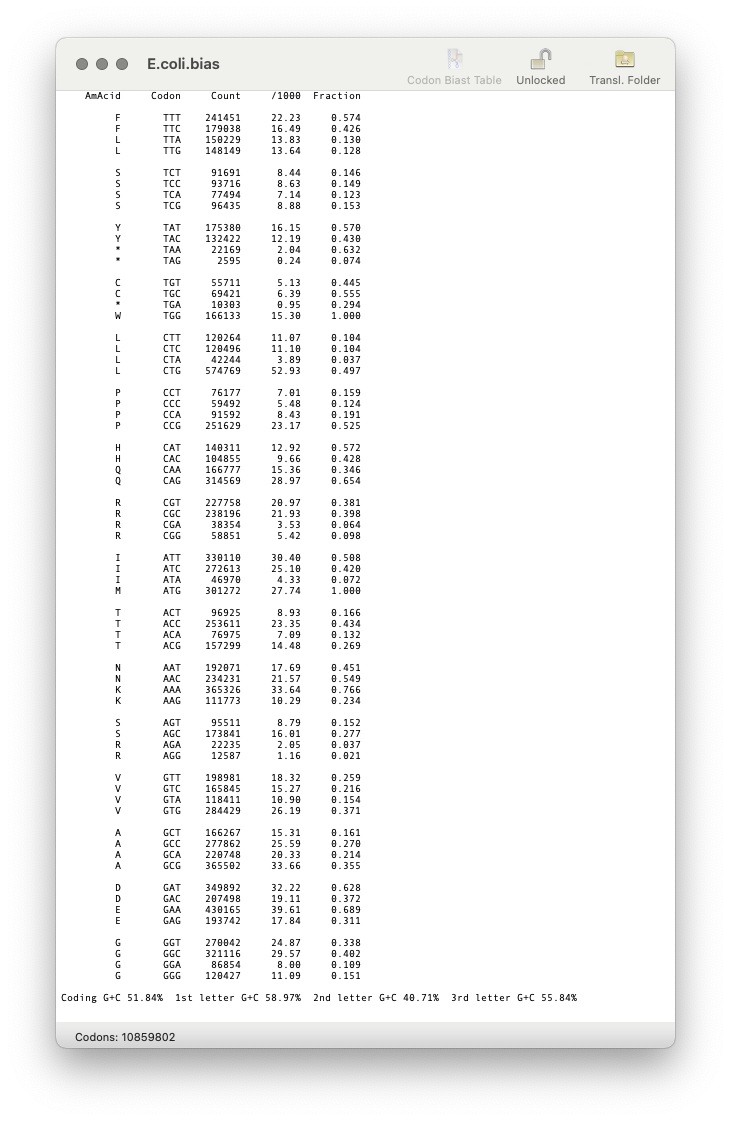
MacVector uses codon usage tables (also called “Codon Bias”) to help you predict protein coding regions in the Analyze | Nucleic Acid Analysis Toolbox functions and also the protein Analyze | Reverse Translation… function. For example, here are the Plus and Minus strand Staden Codon Preference plots aligned under the Plus/Minus ORFs for a Streptomyces…
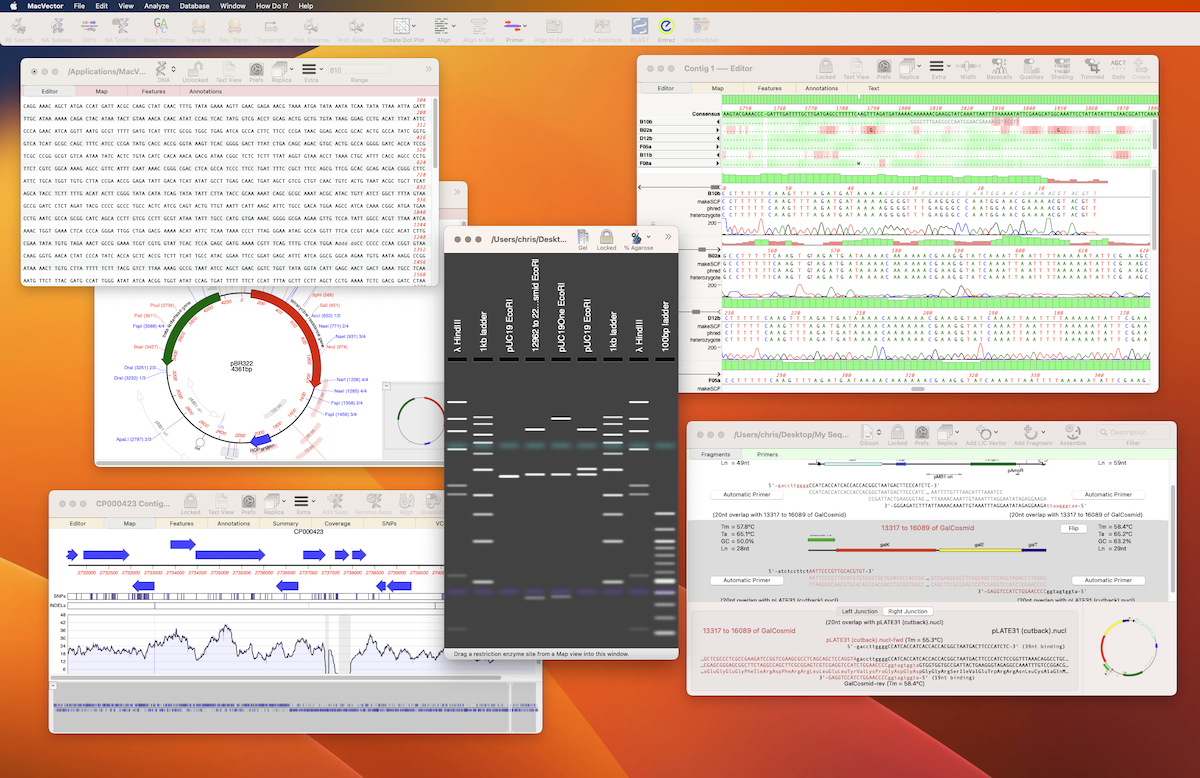
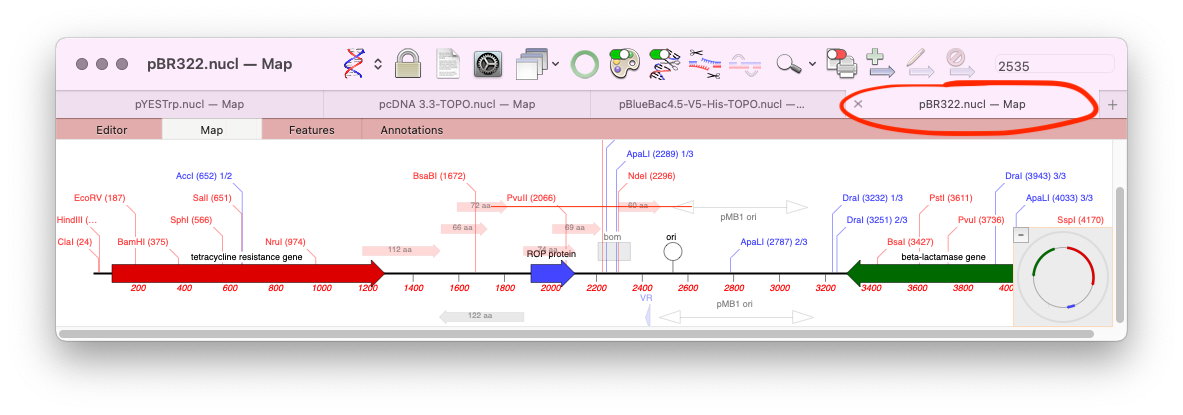
One of the lesser known features of macOS is the ability to store all open documents of an application in tabs. Tabs were initially introduced for the Finder, but macOS Mavericks saw them apply to supported application document windows too. MacVector has supported tabs since their introduction, however, by default the Tab Bar is turned…
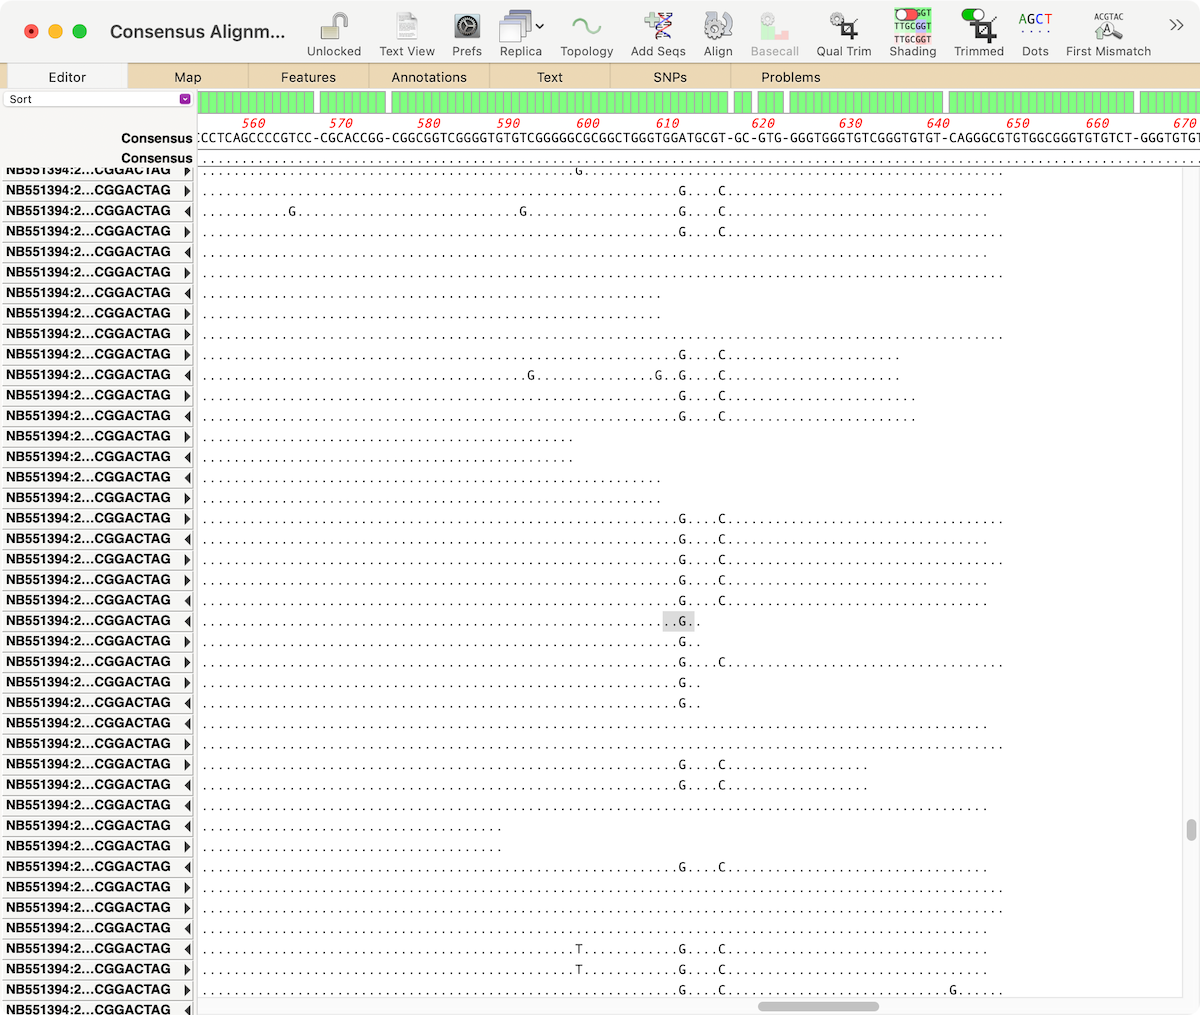
When analyzing/assembling/aligning NGS data, there are many scenarios where you might want to separate out the reads representing different genotypes or variant sequences. MacVector makes this very easy. Take a reference sequence and choose Analyze | Align to Reference. Now click the Add Seqs button and select and add your NGS data files. NOTE: if…
Many of our users are familiar with the ability of Sequencher to semi-automatically trim poor quality sequences from the ends of Sanger ABI reads. Although it is generally not necessary to do this in MacVector because most of the algorithms can automatically handle poor quality data, there are times when it can be beneficial. So…
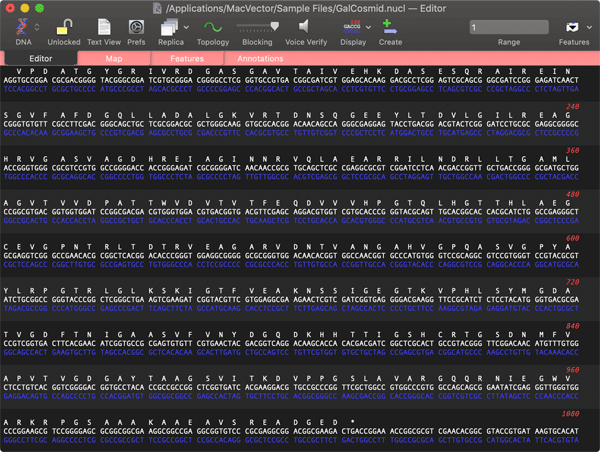
There can be times when you are messing around with open reading frames, inserting residues to change frames to try to get the perfect CDS fusion. The MacVector single sequence Editor will show those (click and hold on the “Display” toolbar button) but if you select and copy, only the DNA sequence (with any overlapping…