The In-Fusion Cloning kits from Takara allow you to perform ligase free cloning of PCR products into vectors in as little as 15 minutes. You can use MacVector’s Gibson Cloning/Ligase Independent tool to design primers for In-Fusion cloning workflows. The In-Fusion kits need a 15nt overlap between the ends of a fragment and the ends…
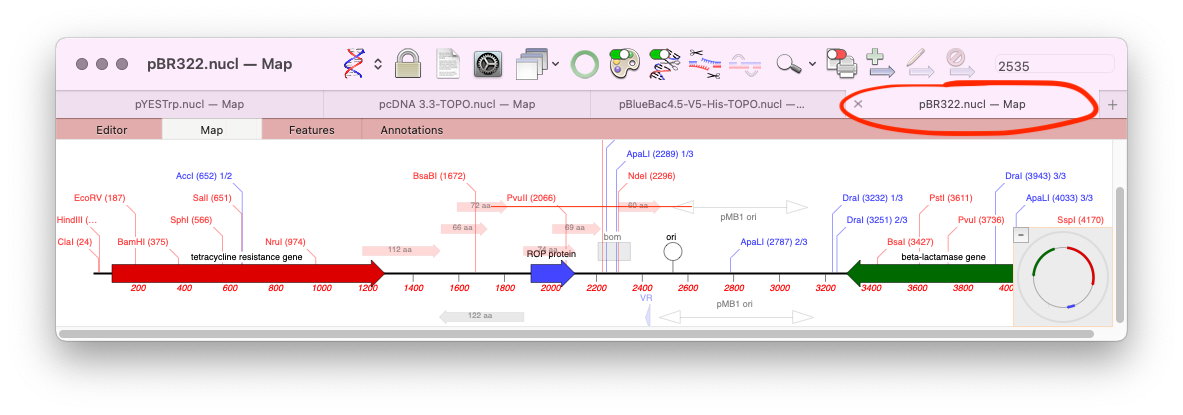
One of the lesser known features of macOS is the ability to store all open documents of an application in tabs. Tabs were initially introduced for the Finder, but macOS Mavericks saw them apply to supported application document windows too. MacVector has supported tabs since their introduction, however, by default the Tab Bar is turned…
MacVector’s Subsequence tools allows you to search for motifs in both protein and DNA sequences. As well as a library of existing subsequence files, such as promotors and transcription factor binding sites, you can keep a library of your own subsequence matches. Subsequences libraries are multiple patterns kept in a single file. A search will…
The pandemic brought a sudden change to usual working routines and it is probable that home working will remain part of the working week for some time to come. Most scientific research needs physical lab time, but that’s just “pipetting”! The real science also happens when you think.. and that can be done easily at…
When analyzing/assembling/aligning NGS data, there are many scenarios where you might want to separate out the reads representing different genotypes or variant sequences. MacVector makes this very easy. Take a reference sequence and choose Analyze->Align to Reference. Now click the Add Seqs button and select and add your NGS data files. NOTE: if your reference…
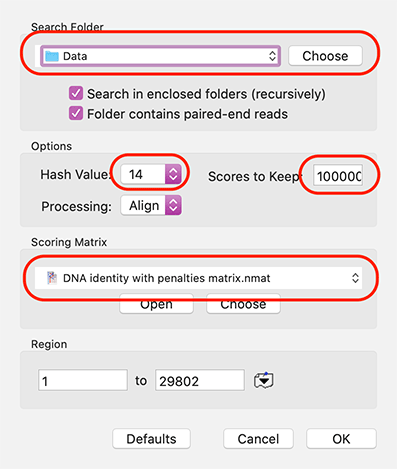
So you just got your NGS reads back from that sequencing experiment and, wow, what a HUGE amount of data. Wouldn’t it be easier to handle if you could pare that down to just the gene/plasmid/sequence(s) you are interested in? MacVector to the rescue as it can read and filter fast/q files, even if they…
MacVector with Assembler can use Velvet and/or SPAdes for fast and memory efficient de novo NGS assembly of modest sized genomes (typically up to 40 Mbp or so) even on a laptop. One common task is to assemble NGS data from BAC clones.However, one problem that often arises is that the BAC DNA preparations may…
Apple’s AppleScript (along with Javascript for Automation) is an easy to write and easy to understand language that allows you to easily automate tasks in supported applications. Many Apple applications have a AppleScript Dictionary that defines what functions you can automate. MacVector has many such functions in its AppleScript Dictionary. You can auto annotate multiple…
MacVector allows you to do functional domain analysis on your protein sequence using the InterProScan service. InterPro contains multiple databases of protein families, domains and motifs and InterProScan will submit a protein sequence to a search of these databases. It will also do extra analysis such as transmembrane region analysis using TMHMM and other tools.MacVector…
Although Apple are well known (notorious?) for always providing mice with only a single obvious button, in reality the Mac interface from early versions of MacOS all the way to macOS Big Sur, plus many Mac apps, have always used right click menus (or more accurately “context sensitive menus”) to provide extra functionality. MacVector is…