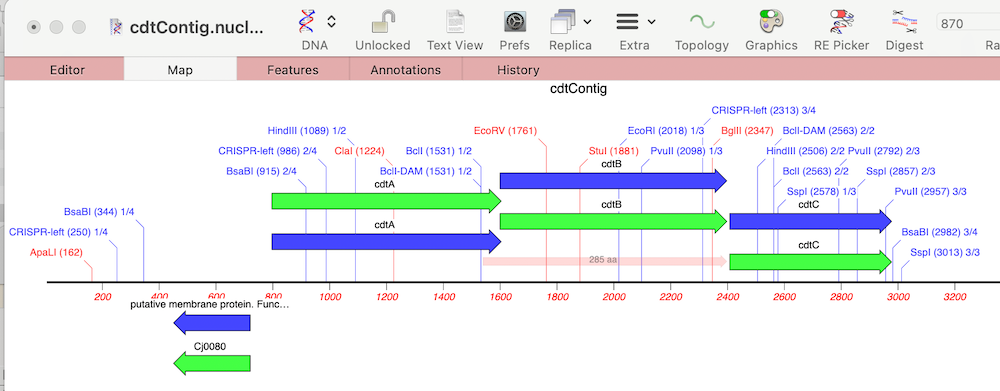
In last week’s tip we showed you how to filter NGS read data to pull out and assemble just those reads that represent a specific gene of interest. Now let’s see how to annotate the single contig we generated and compare that to a reference genome. First, from the Contig Editor, you can save the consensus in MacVector…
Even the latest Macintosh computers loaded with as much RAM as you can afford will still struggle to de novo assemble genomes much over 50 Mbp. But, often that is not required. If you are just interested in a few genes, or a specific region of a chromosome, you can use Align to Folder to filter the…
The majority of MacVector’s analysis tools use a standard workflow: Optimizing results Once you have run the initial analysis then for subsequent analysis you can just repeat the analysis you have just done and further filter it. To do so you need to rerun the analysis tool except now select the Results window (at the…
MacVector Pro now includes Assembler, a powerful sequence assembly plugin that brings sequence assembly directly to your desktop with the same user-friendly interface MacVector users have come to expect. Assembler simplifies the management, assembly, and analysis of all types of sequencing data. Assembler’s extensive toolkit has always been seamlessly integrated into MacVector, but previously required…
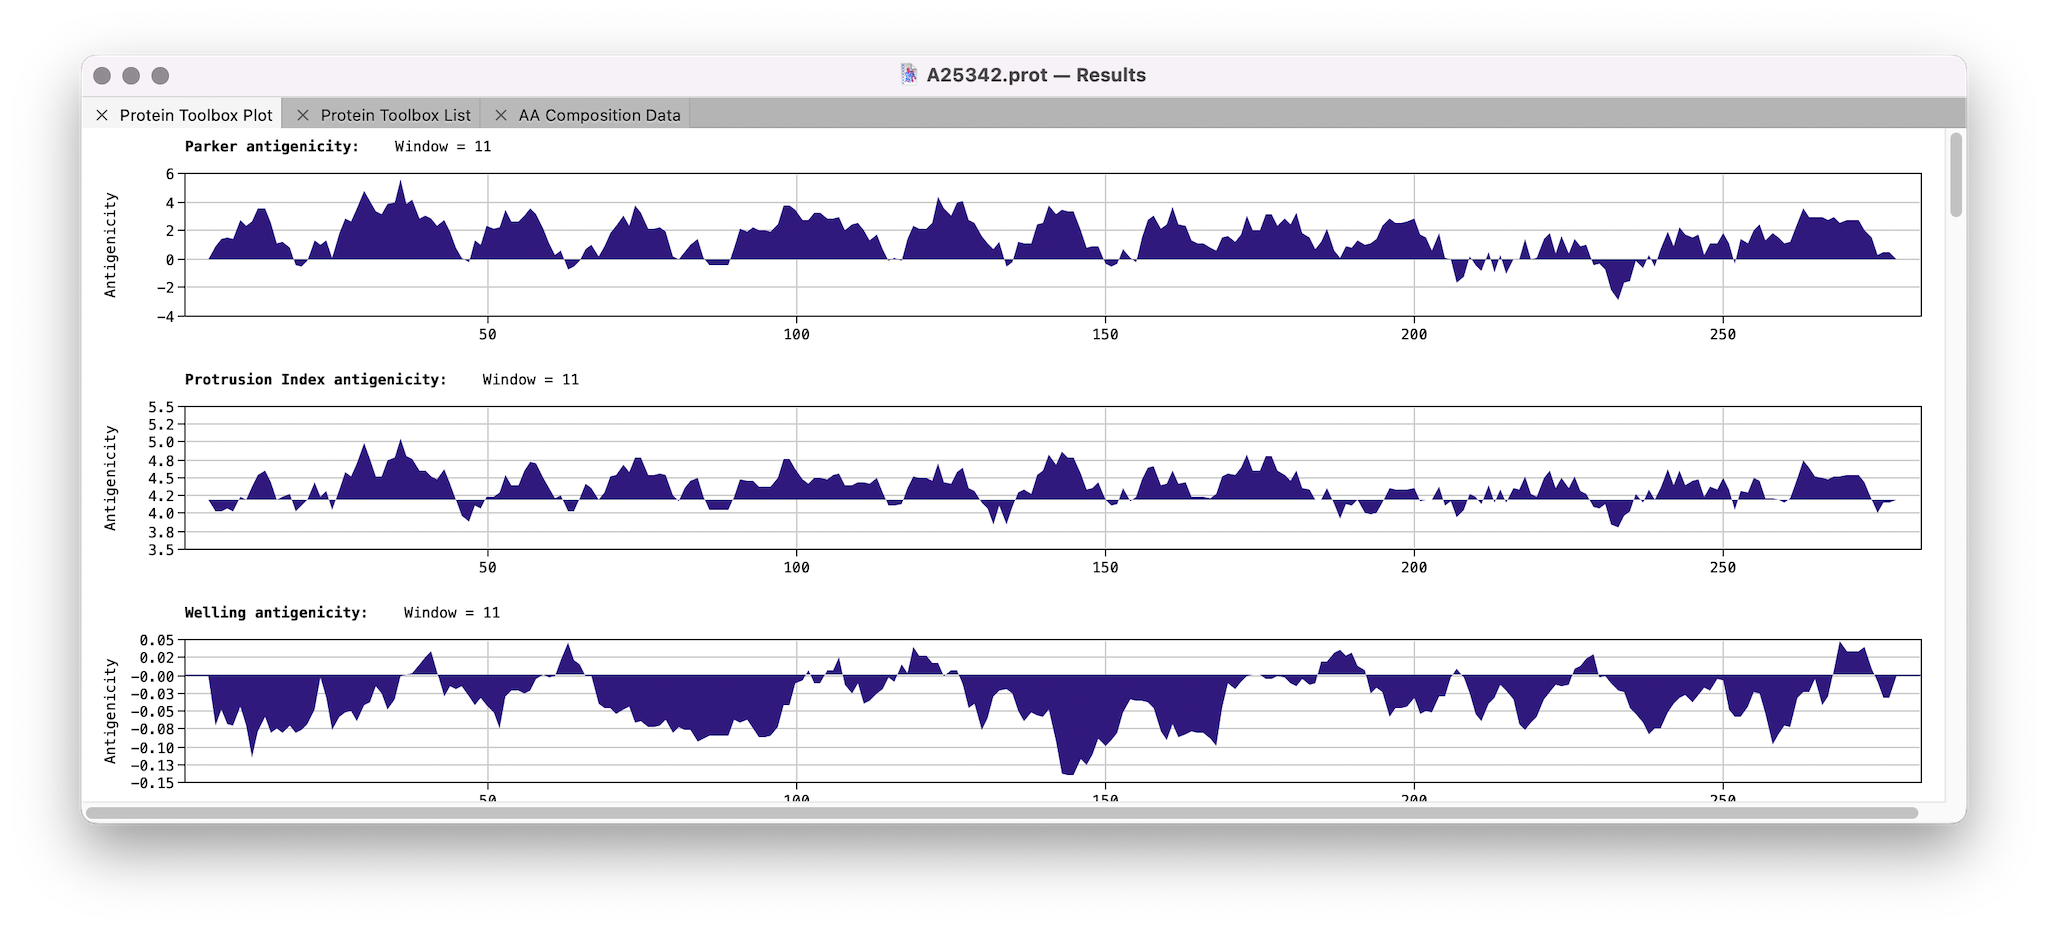
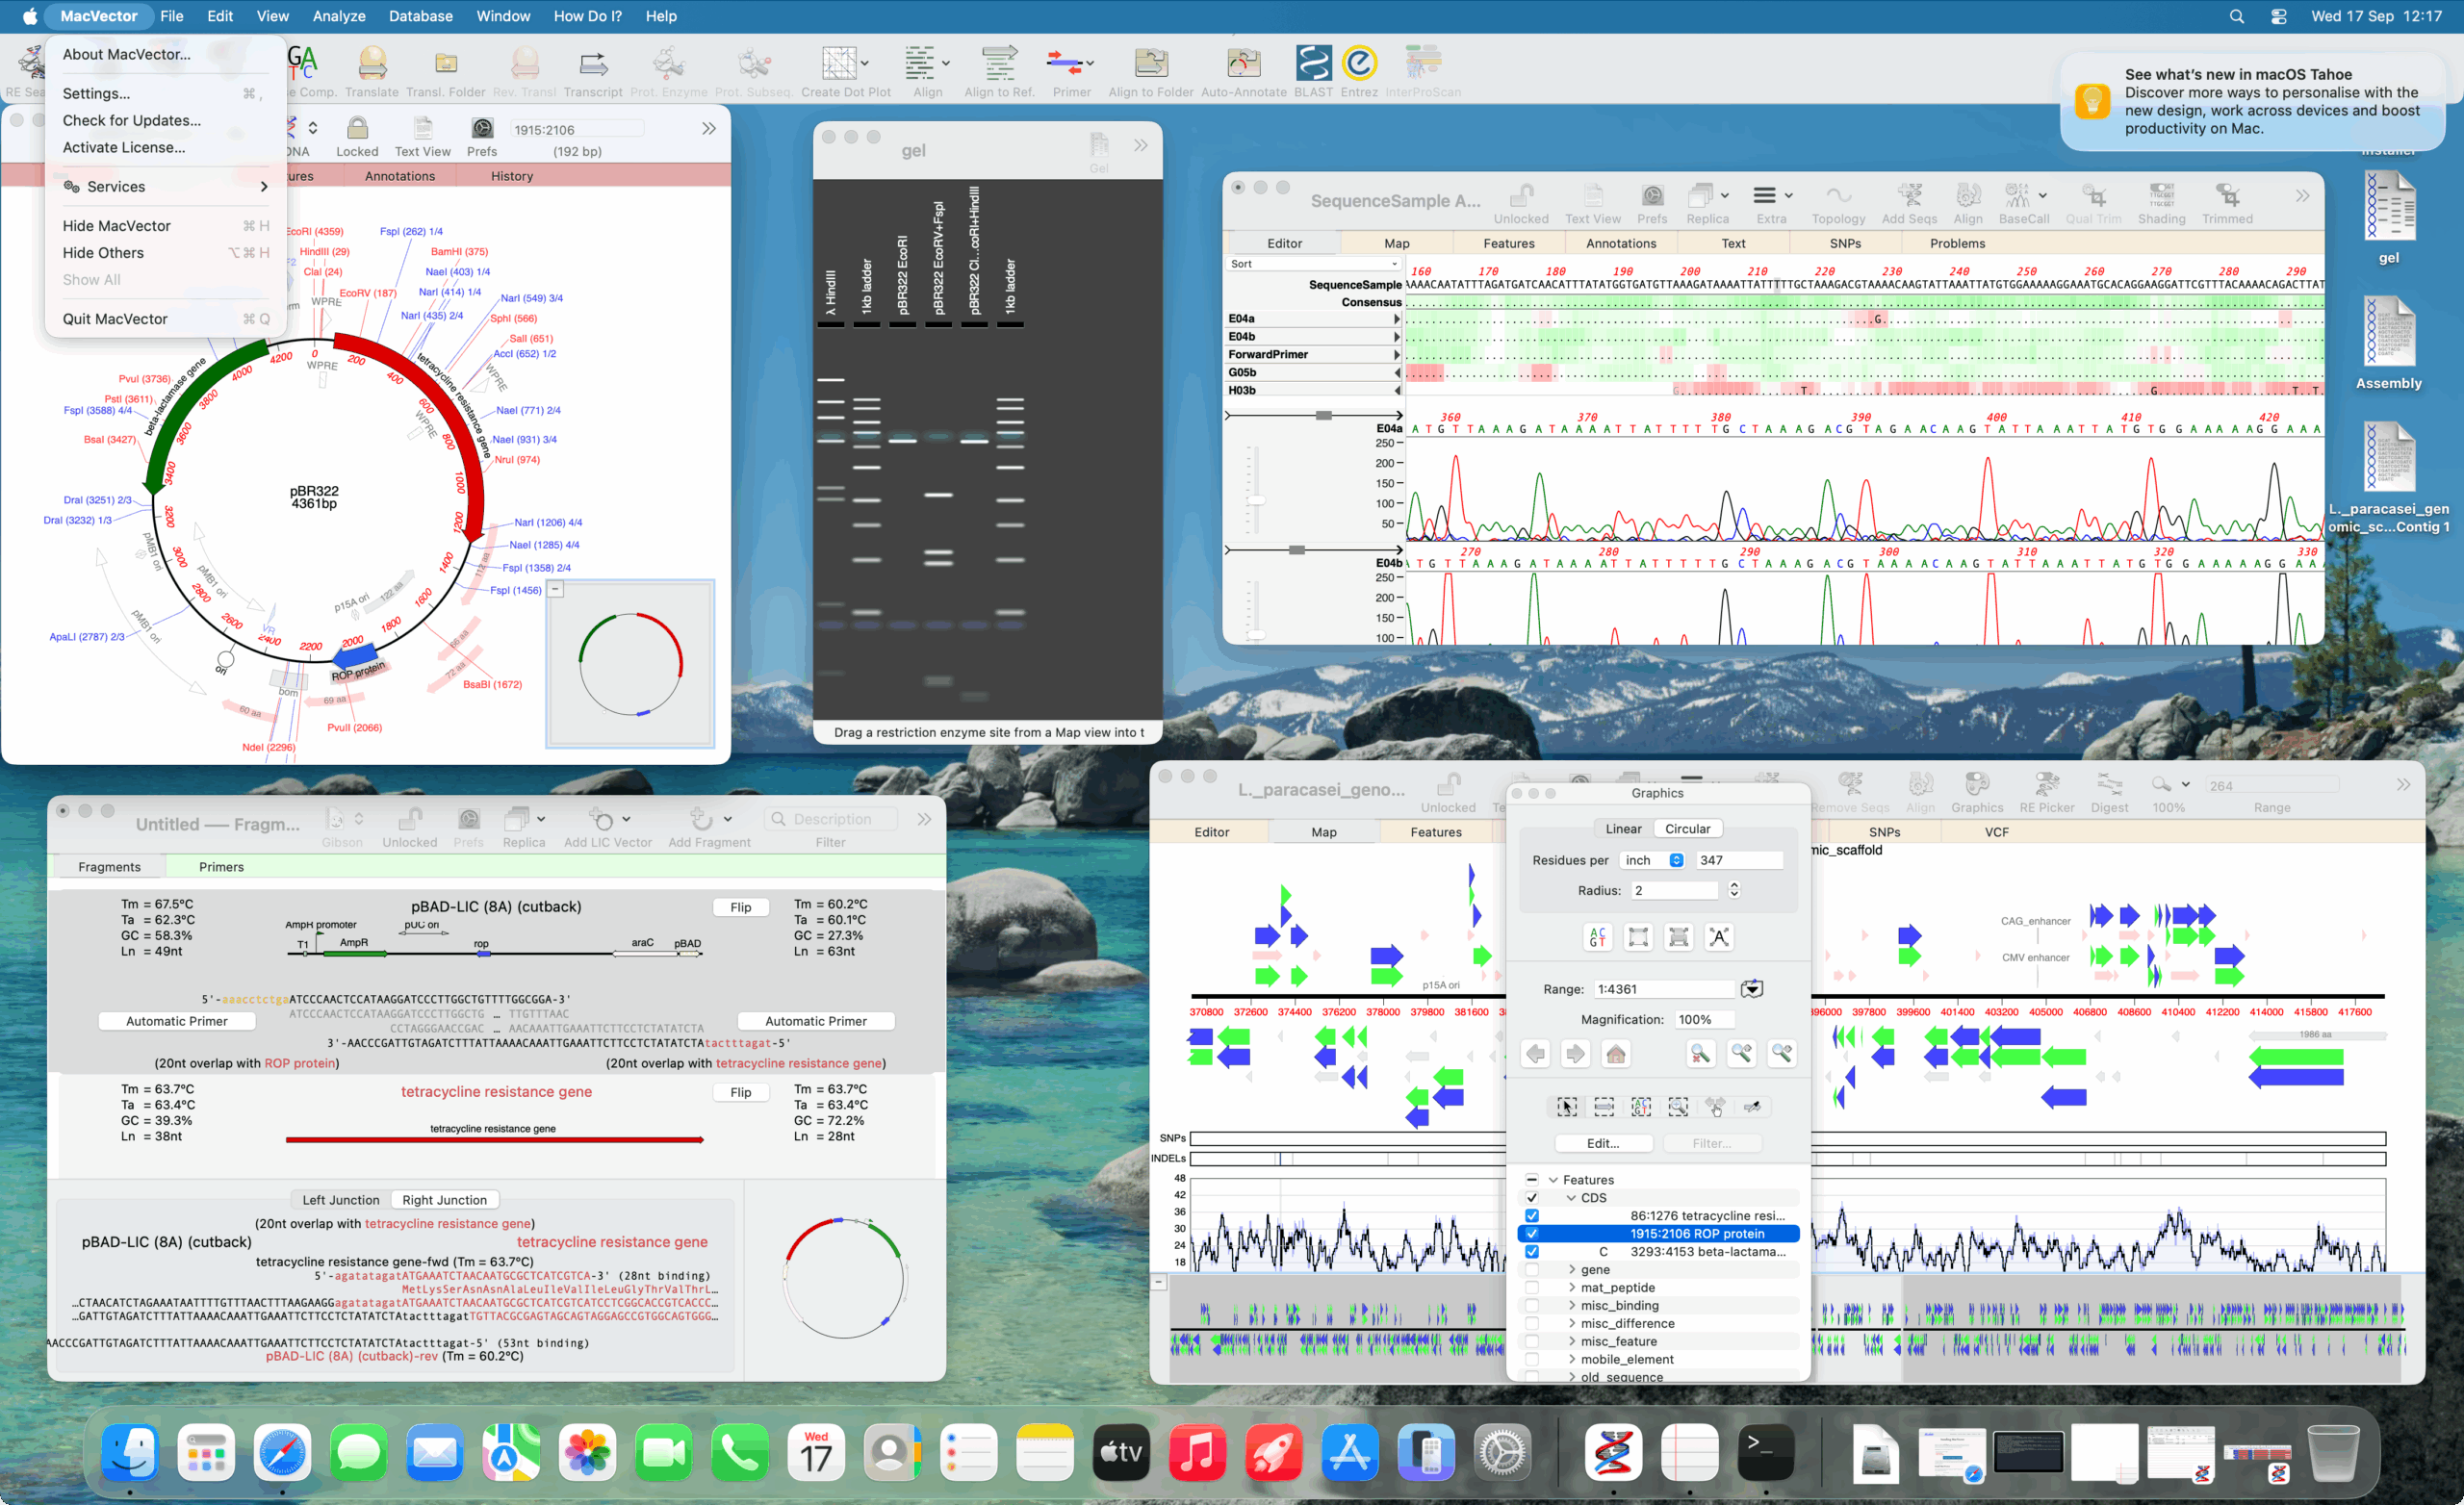
We’ve just released MacVector 18.7.3. This has a few minor bug fixes with calculating amino acid properties of a protein sequence: If you have not yet been prompted to upgrade then go to MACVECTOR | CHECK FOR UPDATES… or download the installer directly. MacVector 18.7.3 is fully supported on macOS High Sierra to macOS Sequoia.
Apple released macOS Sequoia earlier this week (16th September 2024). As usual in the run up to a new macOS release, we have been testing MacVector on development builds of macOS Sequoia. We are happy to report that there are no issues and that MacVector 18.7 is fully supported on macOS Sequoia. If you do come across…
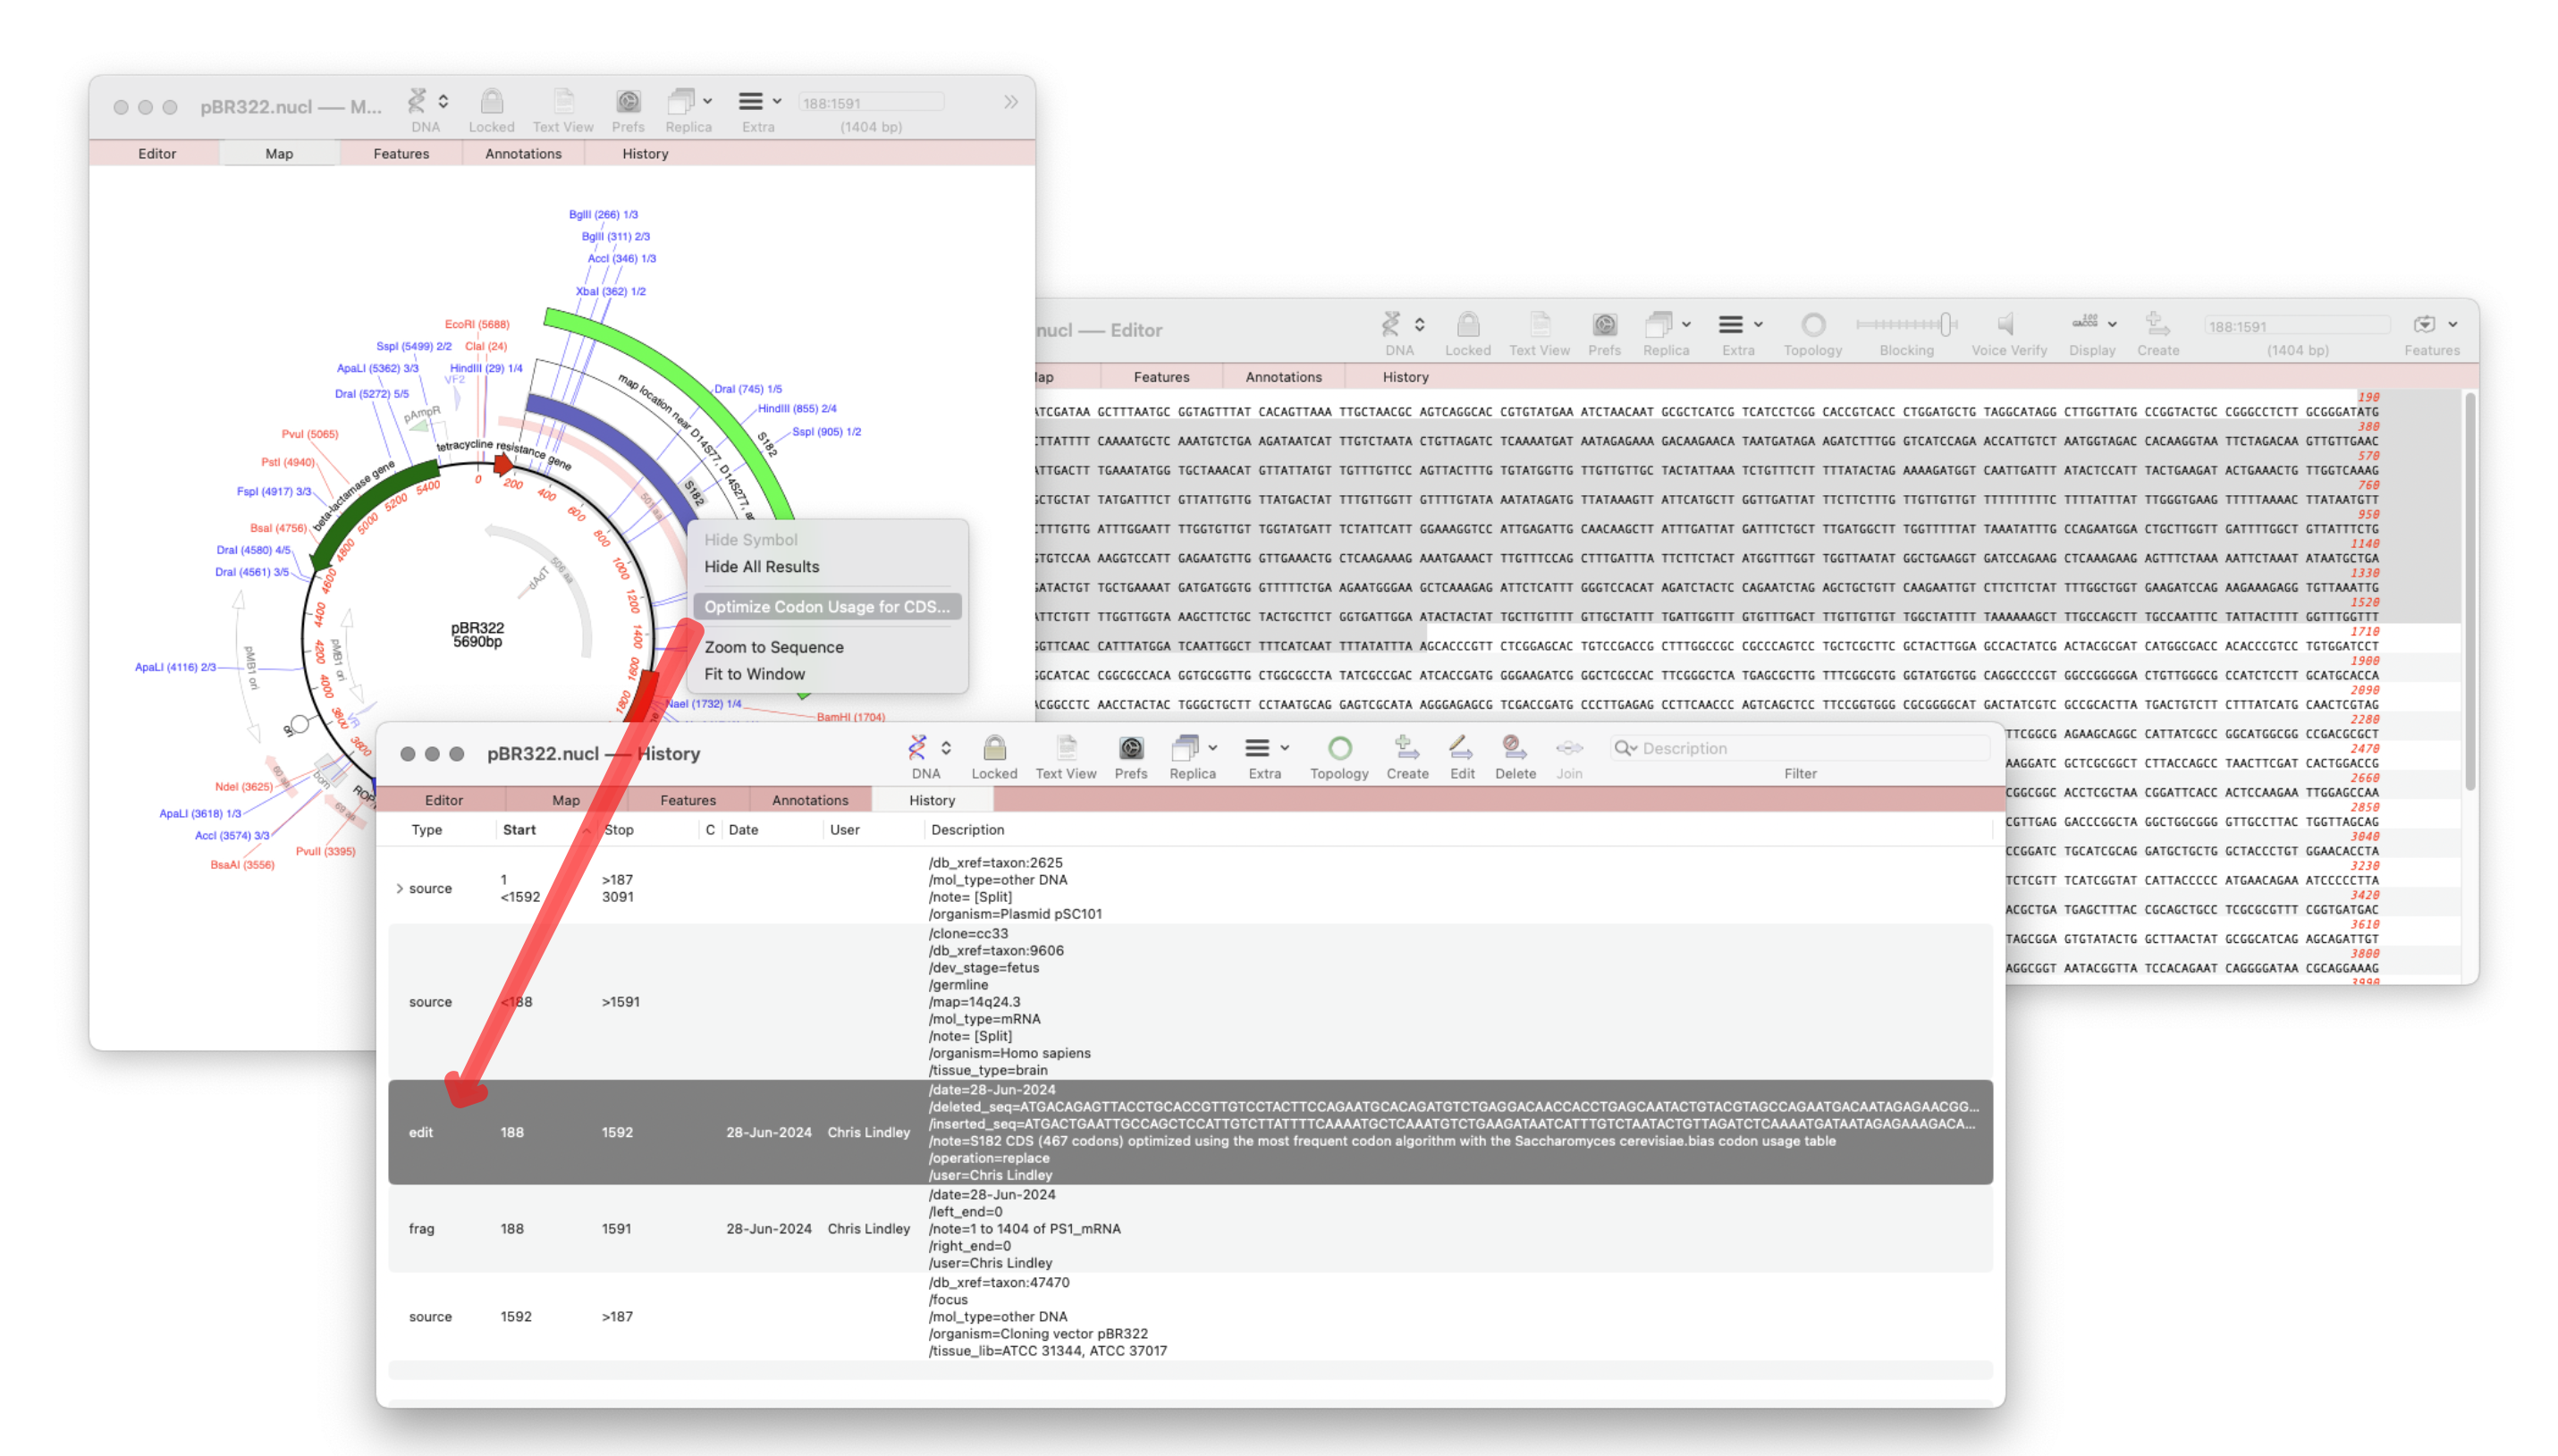
The recently released MacVector 18.7 has a new History tab in the Single sequence editor that shows the editing history of your DNA sequences Since the introduction of MacVector’s Cloning Clipboard, all cloning actions (such as ligating a digested fragment into a vector) create a /FRAG feature that records the source of the ligated fragment, the restriction enzymes used to digest it (and…
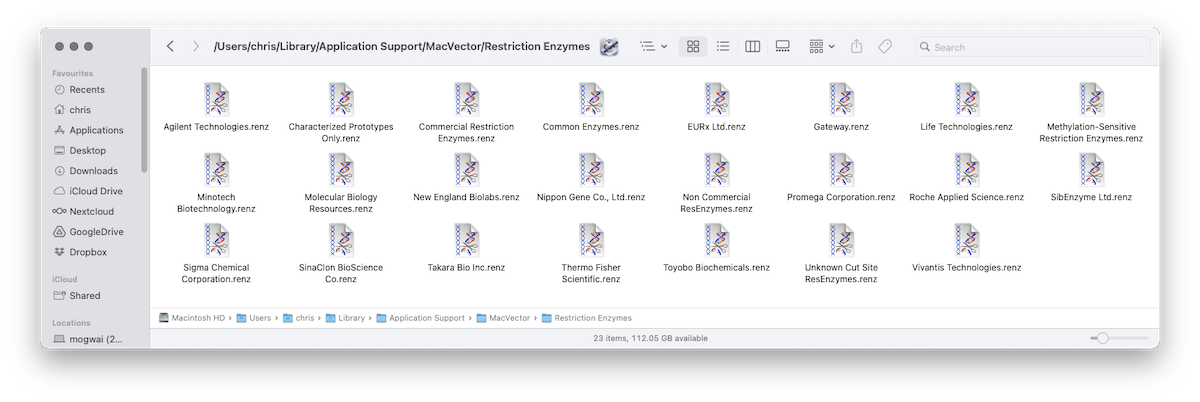
One change in MacVector 18.7, that will improve installation on multi user Macs, is that by default MacVector now stores restriction enzyme files in the user’s home folder. Since it’s the user’s home folder, it will always be writeable, even if the user does not have Administrator access to the machine. Additionally for a Mac…
MacVector 18.7.2 update is now out We’ve just released another minor update to MacVector 18.7. Sorry to follow an update with another update so quickly but we discovered two minor, but annoying bugs. You will be prompted to update over the next few days (unless you have turned off update notifications). However, you can also…
We’ve just released a minor update to MacVector 18.7. You will be prompted to update over the next few days (unless you have turned off update notifications). However, you can also run MACVECTOR | CHECK FOR UPDATES.. or download the new version directly Changes for MacVector 18.7.1 macOS Support This release now supports all macOS…