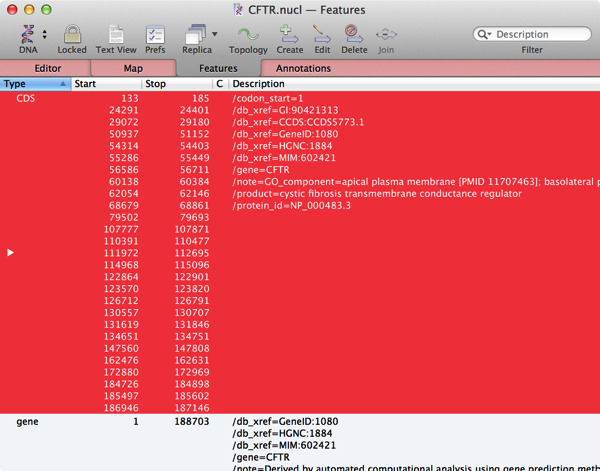
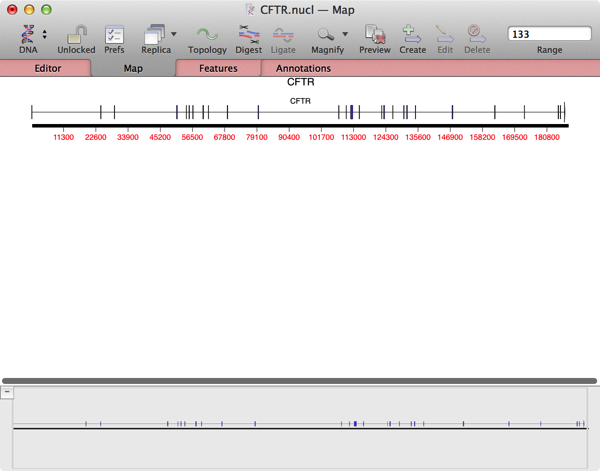
If you download eukaryotic genomes from GenBank, you will find that many coding (i.e. CDS) features are segmented and consist of multiple individual segments joined together into a single long feature. You can see an example of this with the human cystic fibrosis transmembrane regulator gene – you find a copy of this in the MacVector tutorial files folder: /Applications/MacVector/Tutorial Files/Sequence Confirmation/CFTR/CFTR.nucl. This sequences contains a single CDS feature with 27 individual segments. If you click on the CDS in the Features tab, all 27 features highlight;
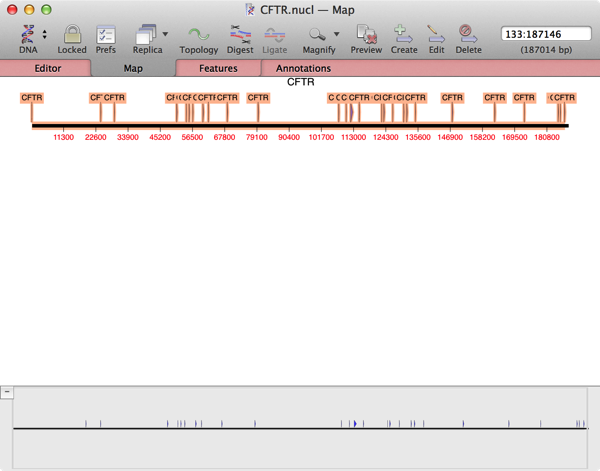
Similarly, in the Map tab, all of the segments highlight;
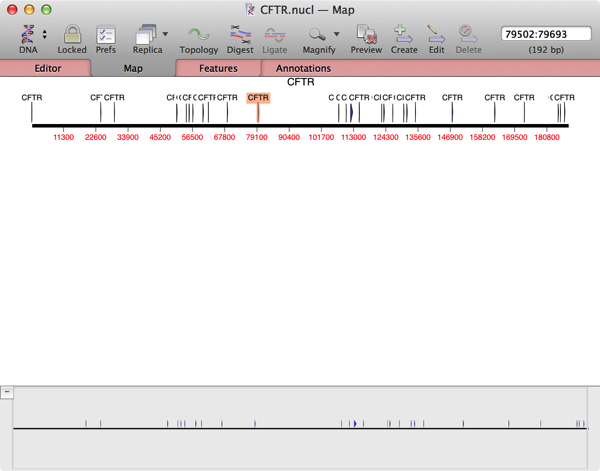
If you want to select an individual segment in the Map tab (effectively an exon, but be aware that many sequences will have separate exon feature types), then hold down the [option] key when you click on a segment. This will select just that segment;
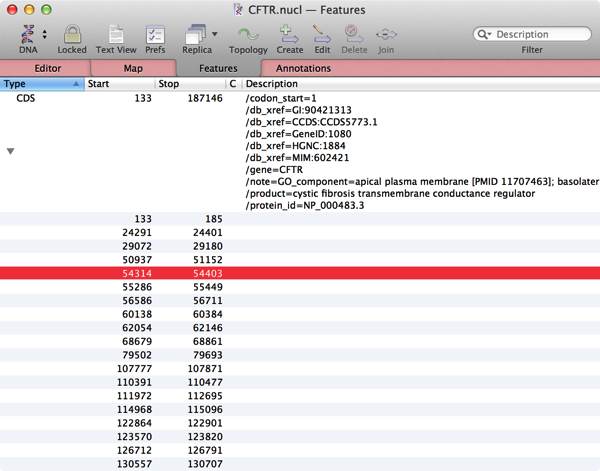
To do the same thing in the Features tab, you need to first click on the “disclosure” triangle at the very left of the CDS item. This opens up the display and you can then click on individual segments as required;
You can change the graphic appearance from a Hollow Arrow to a Segmented Hollow Arrow by double-clicking on any of the segments in the Map tab to open the Symbol Editor and choosing the appropriate symbol type from the drop down menu;
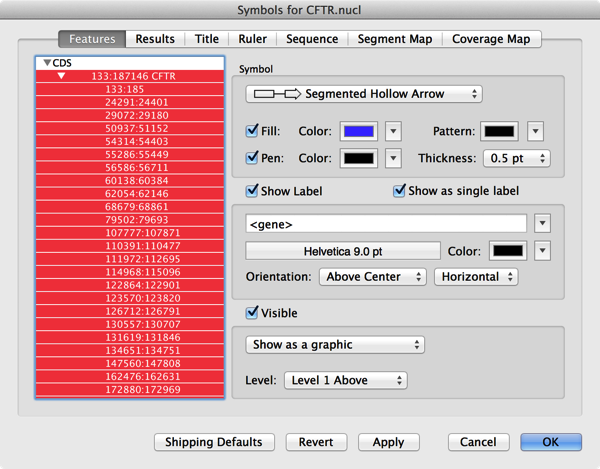
That will change the graphical display so that lines connect each segment;
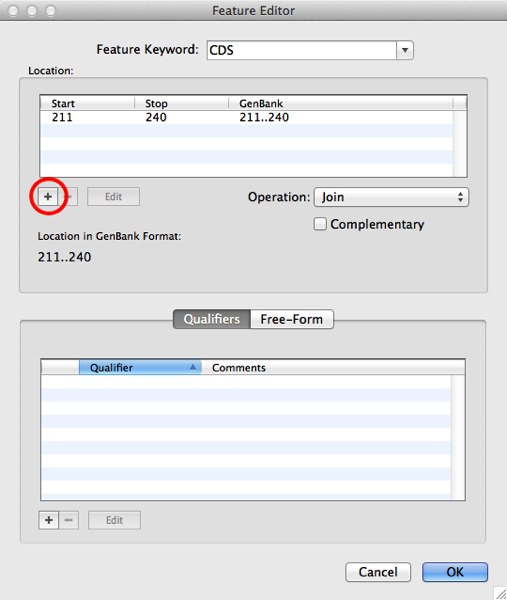
If you want to create your own segmented features, one way is to add additional segments in the main feature editor. To do this, Edit a feature representing the first segment, click on the “+” button then add the co-ordinates of the next segment;
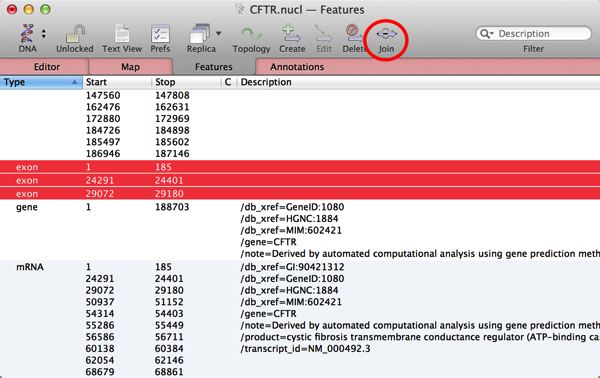
A second approach to define a segmented feature is to create two (or as many as you like) individual features, select them in the Map or Features tab, then click on the Join toolbar item;
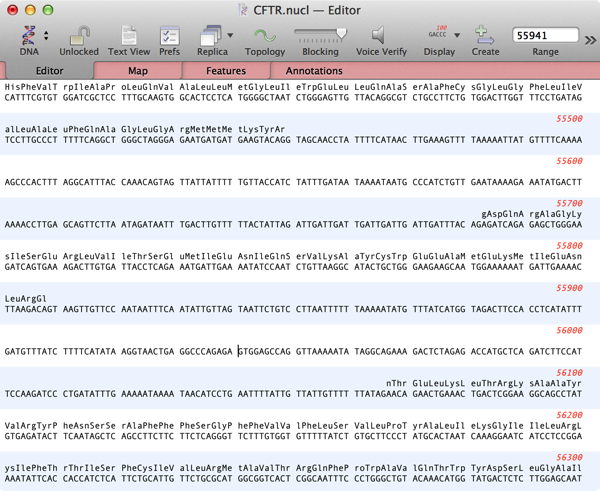
Finally, MacVector understands the concept of segmented features in all views that translate CDS features. For example, you can turn on CDS translations in the Editor tab and the translations will correctly bridge the gaps (i.e. introns) between segments, maintaing the correct open reading frame;
This is an article in a long running series of tips to help you get the most out of MacVector. If you want to get notified every time a new tip gets published, follow us @MacVector on twitter (or check the feed for the hashtag #101MacVectorTips) or like us on Facebook.