Following on from my recent posts on manual and semi-manual creation of features, the next approach I want to discuss is a fully automated function for creating features. How often do you get sent plain sequences that have no features annotated, even though you know your favorite gene is on there, along with a few common cloning vector features like antibiotic resistance genes, multiple cloning sites and replication origins? Or perhaps you have found a vector on a manufacturer’s web site, but it has no annotations, perhaps just a PDF document listing the start and stop locations of the interesting features. Or maybe you’ve downloaded a sequence from Entrez and although it is fully annotated, you’d prefer to see the features colored to match your favored style? For any of these problems, MacVector has an Auto-Annotation function to simplify life.
The way this works relies upon you having a folder (or hierarchy of folders) containing previously annotated sequences. You can then open the plain sequence you have been sent and scan it against the folder(s) of annotated sequences. MacVector will examine each feature it finds and see if it is present on your input sequence. When it finds a match, it not only creates a new feature, but it also copies the graphical feature appearance information so that the new feature exactly matches the one in the folder. There are settings to allow a little fuzziness in the search to allow for a few mismatches or insertions/deletions. You can even control how MacVector handles matches to features that have already been annotated so that the existing annotation is left alone, but the graphical appearance is changed to match the feature in your folder.
If you don’t already have a collection of nicely curated and annotated sequences, you can start with some of the vectors that we supply. The folder /Applications/MacVector 12.7/Common Vectors/ has formatted vectors from a number of manufacturers (Invitrogen, New England Biolabs, Promega) along with common series of vectors (pUC, pBR, pACYC, pGEM, M13, pBluescript) and a starter folder of AnnotatedFragments containing a selection of common cloning vector elements.
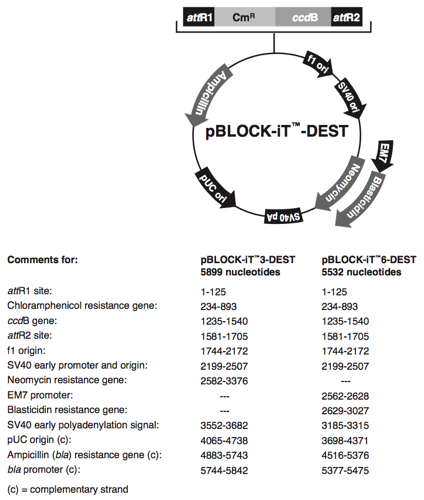
Lets walk through the auto-annotation of a cloning vector from Invitrogen. For this example, I’ve chosen pBLOCK-iT 3-DEST, a vector that is not included in MacVector’s /Common Vectors/Invitrogen/ vector collection. Here’s the Map of the vector from the Invitrogen web site;
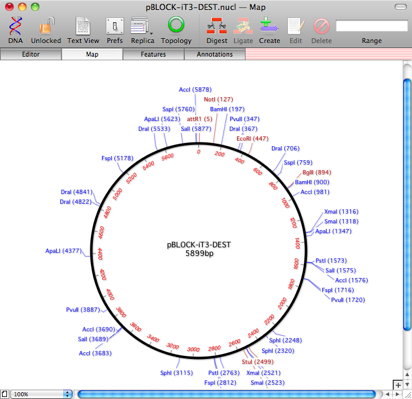
The actual sequence can be copied from the site, but no annotations are included. Here you can see the empty Map of the sequence once I copied it, pasted into a new DNA sequence window and saved it;
The next step is to invoke Database | Auto-Annotate Sequence;
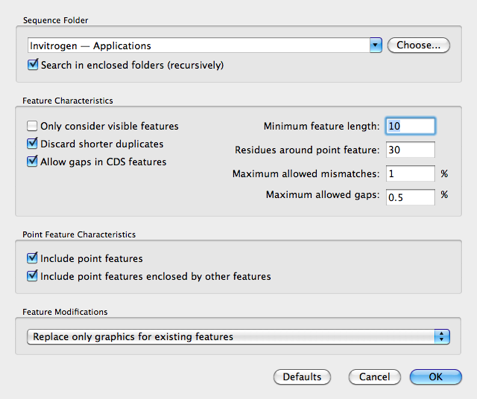
Here I’ve chosen the Invitrogen vectors folder (/Applications/MacVector 12.7/Common Vectors/Invitrogen/) as the search folder and I’ve set the Feature Modifications to Replace only graphics for existing features. In this case, the source sequence has no existing annotations, so its not particularly critical to choose this. However, if you were starting with a partially annotated sequence you could select this to make sure that none of your annotations were changed. Finally, we click OK to start the search.
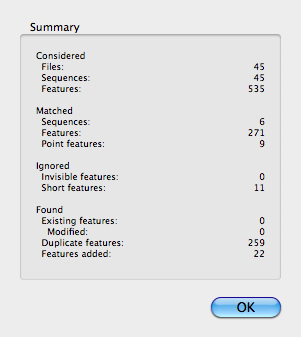
When the search completes, a Summary sheet gives us information on how many features were scanned and how many were added to the vector;
The Map updates to show all of the graphical annotations;
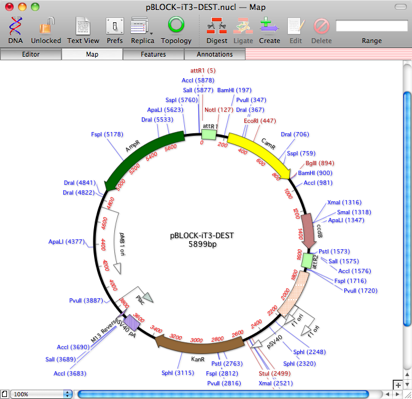
Now, in this case, I got pretty lucky and all of the features in the PDF map have been found on the vector. If one or two were missing, it would be simple to manually add them using the feature editor I described a couple of blog posts ago. By then saving the newly annotated vector into my Invitrogen folder, I would then automatically get those new features included in any future auto-annotation search.