This is in a series of blog posts on interesting highlights of new features added to MacVector 12
In the last survey a popular request was to be able to change the case, alter the colour, or otherwise being able to annotate sequence directly in the Editor view. You’ve been able to use the Map view to represent features at a sequence level for many versions now. However, we do try to give the user the flexibility to display and work with their sequences the way they want so we’ve added the ability to easily annotate the sequence in the Editor view.
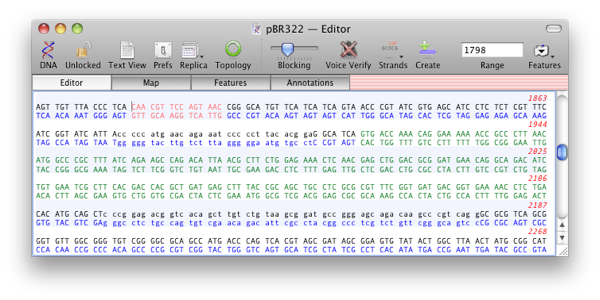
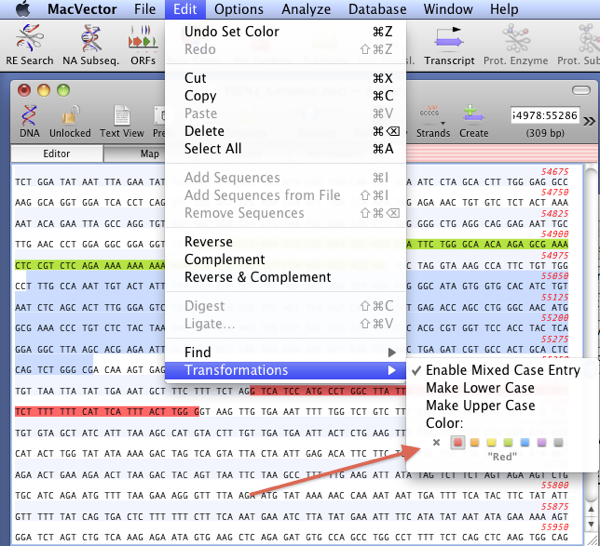
Now the Transformations menu allows you to modify the appearance of the sequence directly in the Editor view. You have control over the case of the sequence in the editor and you can also colour the background or the characters over a range. Note that when you colour part of the sequence, a new feature is created behind the scenes to store this information. When activated, any feature that is visible in the Map View will also cause that region of the sequence in the Editor View to be coloured by the “Fill” colour assigned to that feature. You can display colours by changing the font colour (as in the screenshot) or change the background instead. You can also disable it completely. A sequence may also be entered in mixed case where the case of the sequence will be preserved and displayed in the editor.

To enable this:
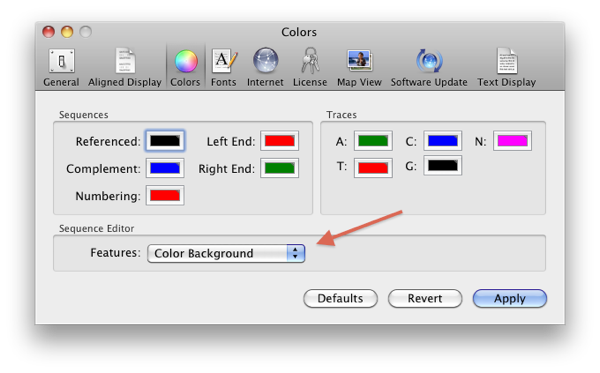
– Open the MacVector | Preferences | Colors pane.
– Switch Sequence Editor to show Color Background or Color Sequence

To enter sequences as mixed case:
– Enable Edit | Transformations | Enable Mixed Case Entry
To disable sequence being entered as mixed case:
– Disable Edit | Transformations | Enable Mixed Case Entry
To color a region:
– Select the region.
– choose Edit | Transformations | Color.

To change the case of a region:
– Select the region you want to change to lower case
– choose Edit | Transformations | Make Lower Case.
If you have not yet done so download your MacVector 12 updater.
Technorati Tags:
MacVector