The Database | Auto-annotate Sequence… tool is a great way to automatically annotate a bare DNA sequence. If you are unfamiliar with this, check out this previous tip. Auto-annotate is an incredibly simple (and fast!) way to annotate a bare sequence, but it does rely on you having a folder full of sequences containing all of the features present in your test sequence. Sometimes, that is not practical – lets look at this bare sequence, pMV 001;
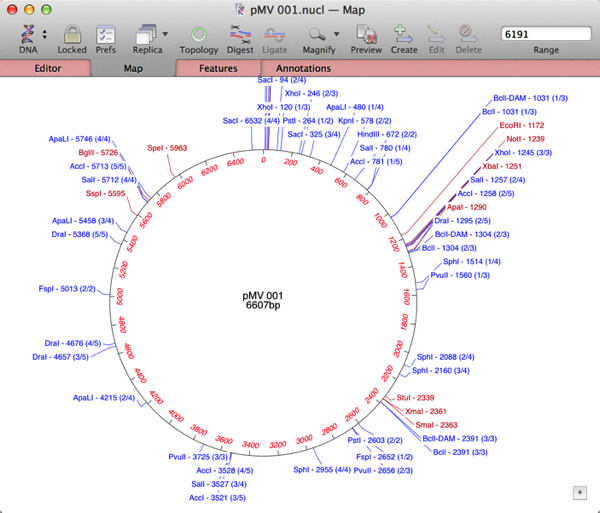
When I run an Align To Folder against /Applications/MacVector/Common Vectors/ the sequence gets a lot of annotations, but there is still an area completely missing any annotations.
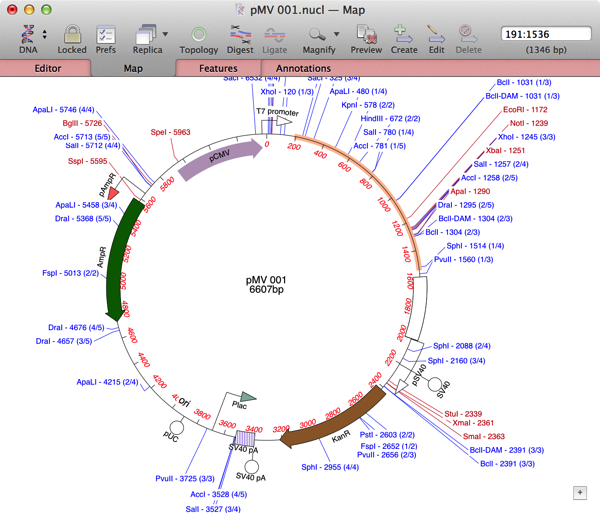
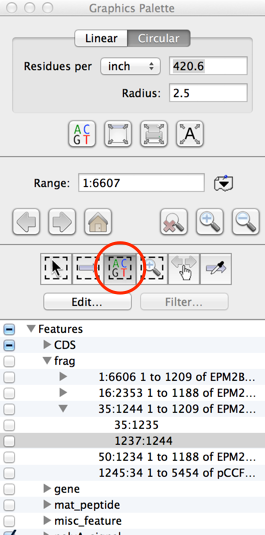
Here’s how to overcome that: Using MacVector, I can simply drag the mouse to select the region of the sequence that has no annotations (shown in the image above). With earlier versions, you need to choose the “Select Sequence” button in the floating graphics palette to do the same thing;
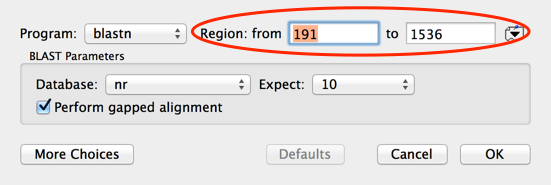
Then choose Database | Internet BLAST Search… and accept the defaults. Note how the Region is set to the range I had selected in the Map tab.
When the results come back (and hopefully you will have some hits), switch to the Description List tab and select the first few lines of the hit descriptions;
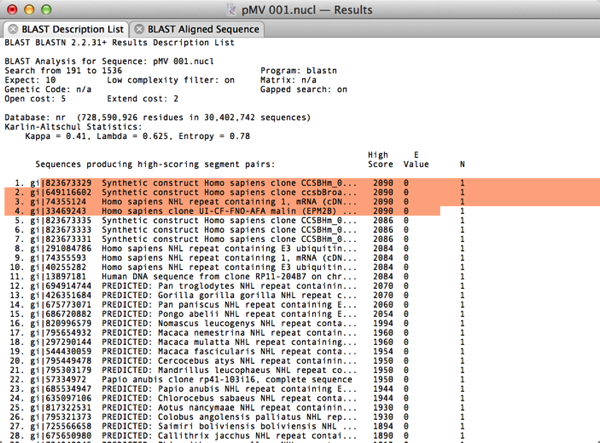
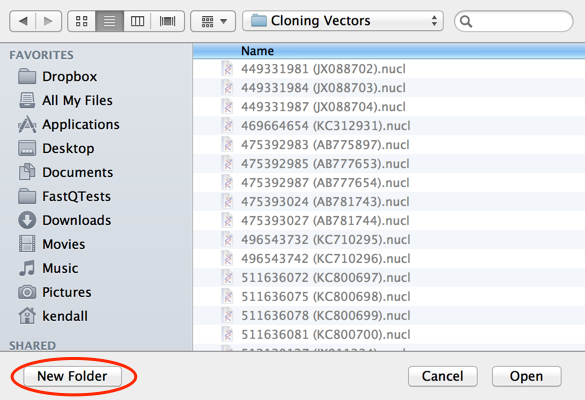
Now choose Database | Retrieve to Disk and create a “New Folder” to save those hits into;
Finally, repeat the Database | Auto-annotation… search, selecting your new folder as the target, and your test sequence should be annotated with any matching features that are present in the BLAST hits;
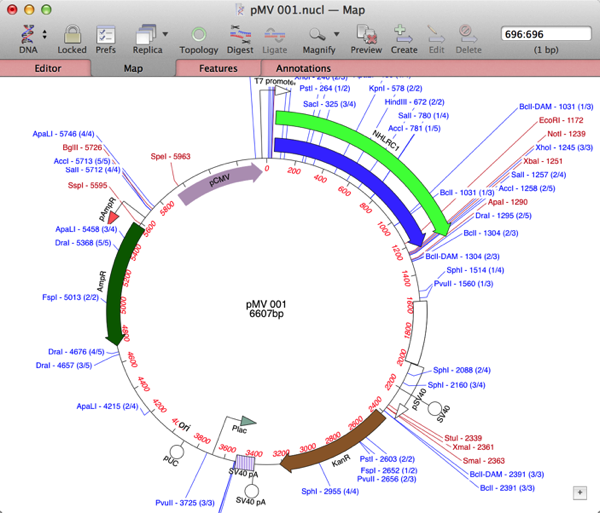
Now its a simple matter of double-clicking on any features that you would like to change the appearance or visibility of, and you are good to go!
This is an article in a long running series of tips to help you get the most out of MacVector. If you want to get notified every time a new tip gets published, follow us @MacVector on twitter (or check the feed for the hashtag #101MacVectorTips) or like us on Facebook.